How to Use a Sled to Make a Pulk for Backpacking in the Snow
Sledding is a super-fun winter activity, but you can do more with your sled than race downhill. Some sleds can make winter backpacking easier by helping haul your gear.
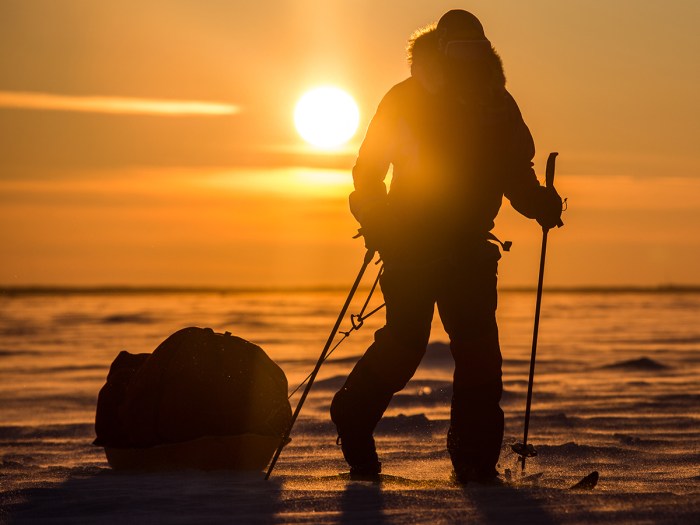
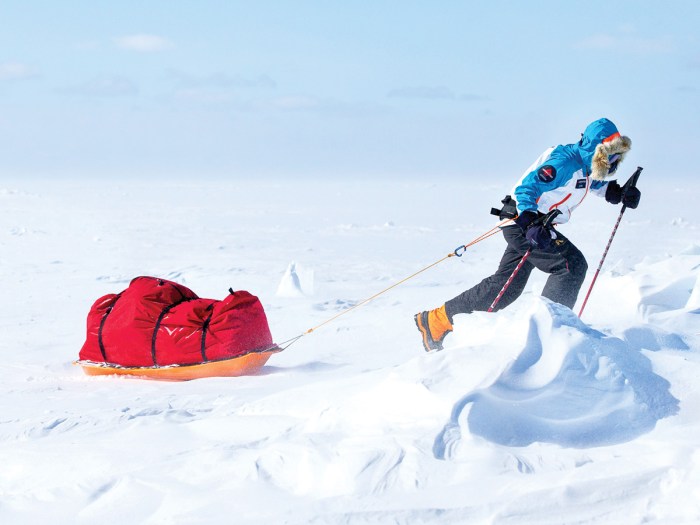
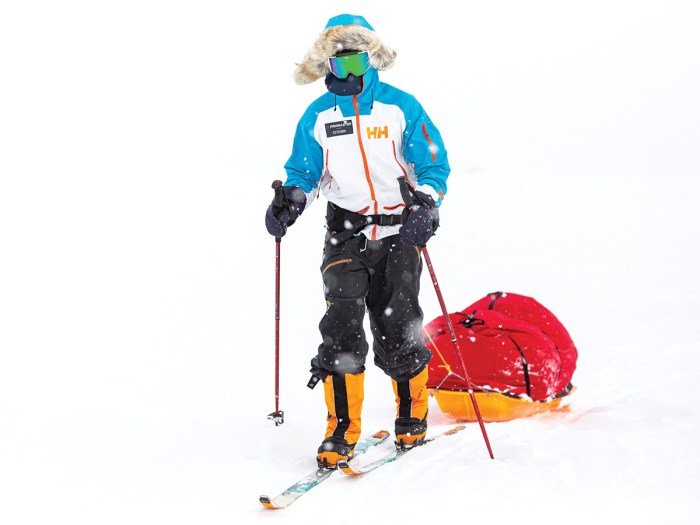
Polar explorer Eric Larsen, who has trekked to the north pole many times, says carrying gear in a sled or “pulk” is more efficient than carrying gear on your back.
“Not only do you not get as sweaty when you’re pulling your gear instead of carrying it,” Larsen tells SL, “but it’s easier to manage moisture and adjust layers.”
HOW TO MAKE A PULK
It’s easy to make any toboggan-style plastic sled part of your winter camping kit.
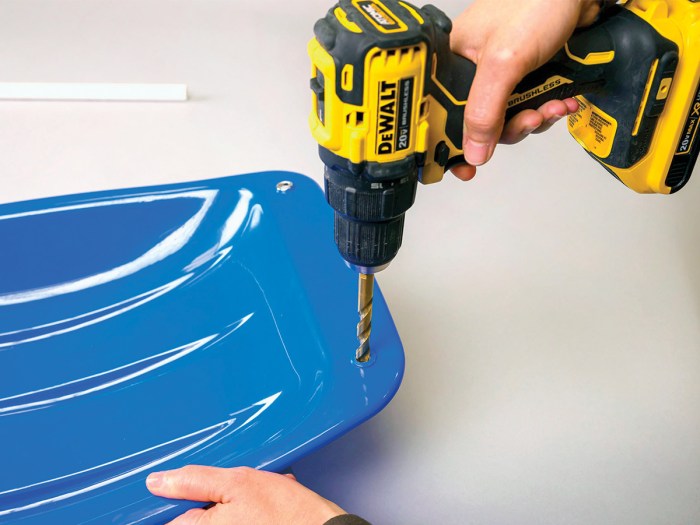
Step 1. Start with an inexpensive plastic kit. Drill holes (or ask a parent for help drilling holes) in the front rim so you can attach a rope on either side of the front of the sled. Reinforce the holes with metal hardware for durability.
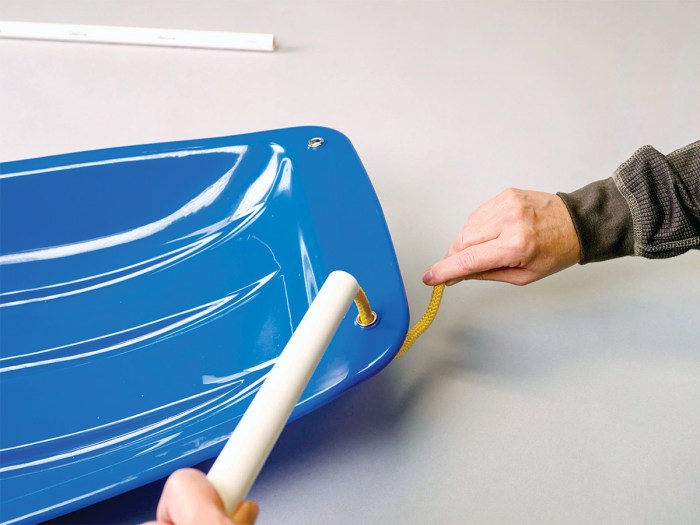
Step 2. Then set up your tow ropes. Thread a rope through the holes on each side of the front rim of the sled.
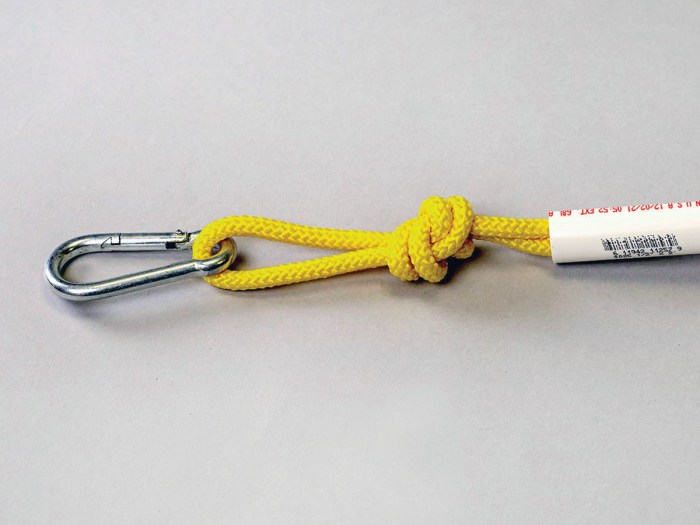
If you’ll be traveling on uneven terrain, thread your ropes through a section of narrow PVC pipe — one piece of pipe per side. The PVC pipe helps give you the best control.
Finally, tie the end of each piece of rope to a carabiner. You can clip those carabiners to the waistbelt of your pack when you’re ready to tow the sled.
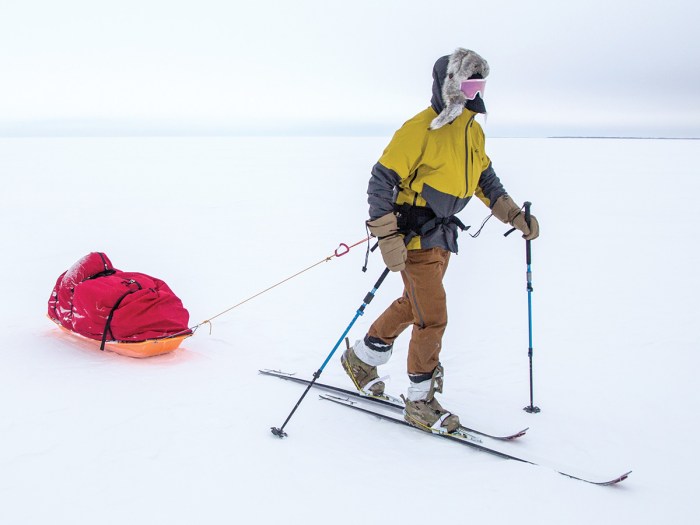
Step 3. For added control, cross your ropes when you attach them to your pack. Make sure the ropes are long enough so you’re not kicking the sled with your skis or snowshoes.
Larsen likes to make his sled ropes long enough so he can walk back to the sled without detaching it from his pack. He uses butterfly knots to make the rope sections longer or shorter. To learn how to tie this knot, visit go.scoutlife.org/butterflyknot or watch the video below.
Larsen also recommends that you don’t tie your sled to the back of your pack: “Make a bridle, and clip your sled rope carabiners near your hips where your pack’s load lifters come in so that you’re pulling with your center of gravity.”
HOW TO PACK YOUR BACKPACKING SLED
Sledding with your gear is less strenuous than carrying it, but it’s still possible to overdo it. Make good choices about what to bring, especially since you’re also weighed down with extra clothing to stay warm.
When packing your sled, distribute the weight to keep the sled stable and balanced. Put the heaviest gear on the bottom and toward the back. Put your lightest gear in the front. Larsen likes to keep extra mitts, goggles, an extra layer of clothes, water and snacks in a small bag at the front of the sled so he can get to them easily.
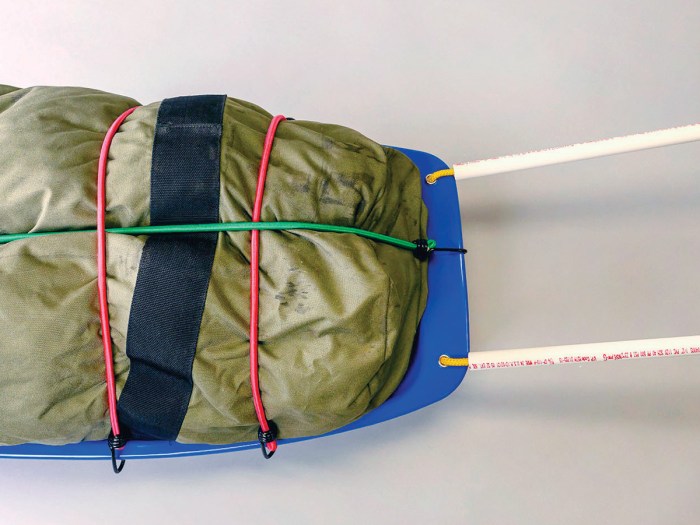
If you have access to a waterproof duffel, pack your gear in that. If not, pack your gear in heavy-duty contractor bags inside any duffel bag. Keep any gear you want to be able to access during the day in a daypack or small duffel, and secure both bags to the sled. Once your sled is loaded, wrap a tarp over your duffels to protect everything from the weather. Lace bungees or cord across the sled to secure your gear.
When you get to camp, you can use the tarp on the snow-covered ground to keep everything dry when you’re unloading. And when you’re on the trail, you can use your loaded sled as a chair when you take a break. If you have on skis, you can unclip yourself from your sled and back up — with a ski on either side of the sled — so you won’t have to take off your skis to take a rest. If you opt not to use PVC pipe, like Larsen, you won’t need to unclip.
RECOMMENDED SLEDS FOR FUN AND WINTER HIKING
“When it comes to backpacking sleds, the inexpensive solution is actually the best solution,” Larsen says. “A cheap sled will be light, easy to use and also fun when you get to camp.”
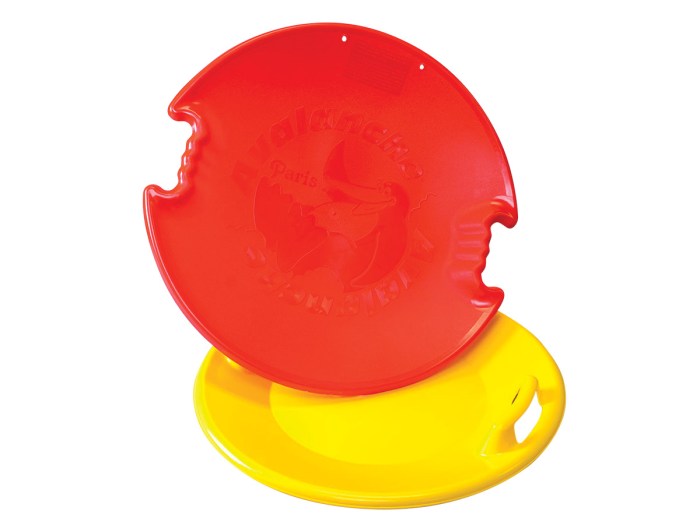
Strap a SUPERIO ROUND SNOW SLED ($20, superiobrand.com) to the outside of your pack, and when you get to an open hill, slip it off and hop on for a ride. The sled measures 24 inches across and is made with heavy-duty plastic. It also has hand grips on either side so you can hold on as you zip downhill. Superio also makes another round sled with elevated handles for $26.
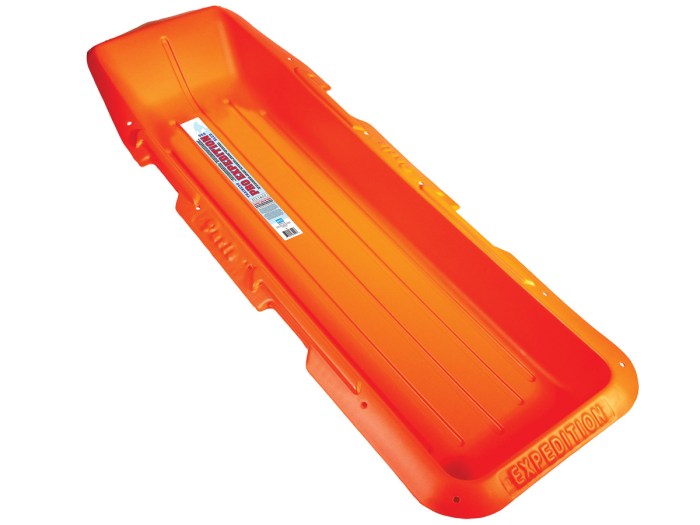
To tow your gear, you’ll need a toboggan-style sled like the ERA GROUP EXPEDITION PRO UTILITY SLED ($70, eragroup.ca). This sled is designed for pulling gear, not for sliding. Its heavy-duty polyethylene plastic weighs just 5 pounds and comes with reinforced grommets. At 5 feet long and almost 2 feet across, you should be able to pack a lot of gear.
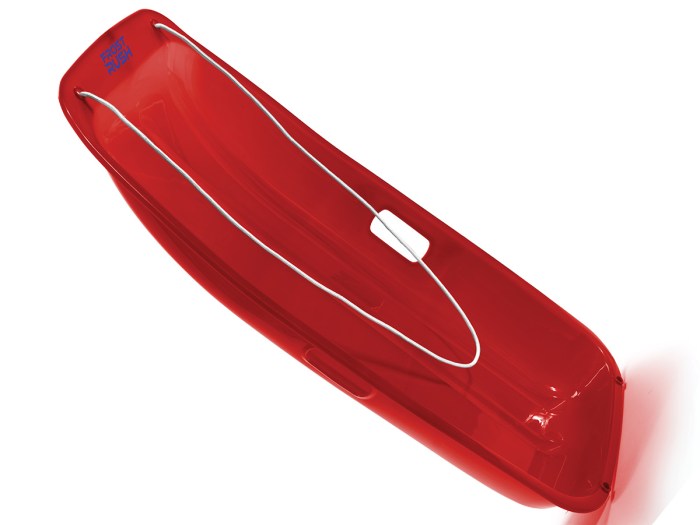
A cheaper sled can work just as well, like the FROST RUSH LARGE TOBOGGAN SLED ($30, machrus.com). It comes with predrilled holes for tow ropes and cutout handles that can be used to tie down gear. It has a slick bottom to help you glide across the snow as you ride on it.
GUIDE TO SAFE SLEDDING
When you go sledding, make sure the hill is safe and free of obstacles like rocks and trees. Even if the hill doesn’t have any obstacles, still wear a helmet. Have two separate paths: one for sledding down and one for walking back up.
For more info on winter sports safety, visit go.scoutlife.org/wintersports
Leave a Comment