How to Build Your Own First-Aid Kit
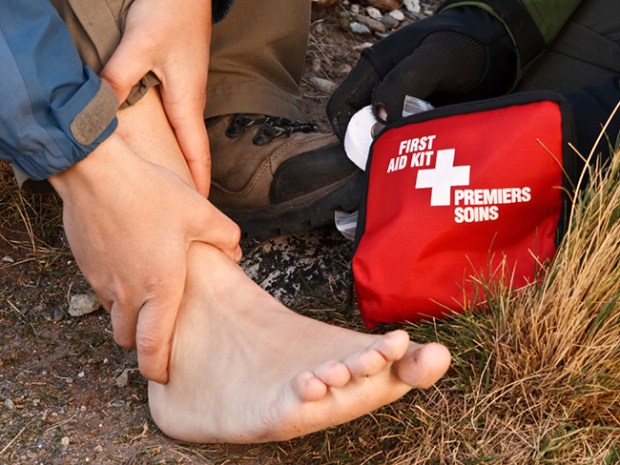
You’re on an outing with your troop when a buddy slips off the trail and messes up his leg. Miles and at least a day’s hike from the nearest trailhead, what are you gonna do?
Hopefully, you have the first-aid training and supplies needed to care for your friend. If not, earn your First Aid merit badge ASAP — and read on for advice on assembling a useful first-aid kit filled with the right contents.
THE LOW DOWN ON FIRST-AID KITS
Build It or Buy It?
The biggest advantage to building your own first-aid kit is knowing the contents of your kit and where it is inside. The hard part is buying everything you need in small enough sizes to keep your first-aid kit light and compact.
But buying a prepackaged first-aid kit often costs less, requires no set up time and usually comes in a specially designed storage bag with handy pockets and compartments.
If you buy a commercially made first-aid kit, just make sure you take everything out of it and then put it back in so you’re familiar with all of the contents and components. Understand what each item is used for so you’ll be prepared, and don’t hesitate to add additional items.
Price
You’ll often save money by buying a prepackaged first-aid kit. A decent first-aid kit can cost as as little as $10 to $25.
Customizing a First-Aid Kit
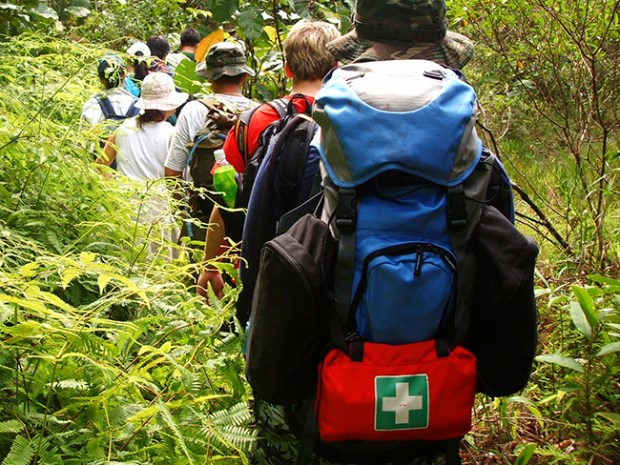
The type of first-aid kit and supplies you bring will be dependent on your group size, trip duration and remoteness. For remote locations you’ll need to rely on your group’s resources, and your first-aid kit should be stocked with supplies to treat a much wider range of injuries or illnesses than for a day hike in the woods.
Make a list of the types of activities you do most often and the sort of places you most often go and how long you’ll be gone, then build or buy a first-aid kit to fit.
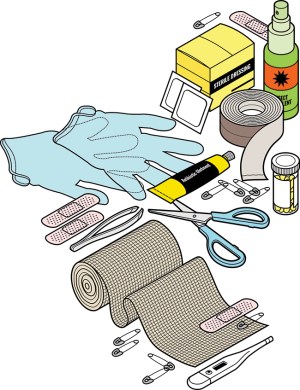
What Every First-Aid kit Should Include
Don’t forget to pack a first-aid manual. Nothing takes the place of first-aid training, but it’s important to have a good manual that you can turn to in an emergency. Beyond that, you’ll want to include supplies to treat the most common outdoor injuries — stuff like moleskin for blisters, tweezers for splinters, bandages, antibiotic ointment and antiseptic towelettes for cuts and scrapes, ibuprofen for aches and pain, and antihistamines for allergic reactions.
What You Should Leave Out
Skip the instant ice packs. They’re heavy and only provide about 15 minutes of cold therapy. To properly treat a sprained ankle, you need to ice the injured area every 30 minutes. Use ice from a cooler, snow or cold water from a river or lake if you need to improvise.
And forget the hydrogen peroxide — it’s so strong it kills the germs and living tissue, so it’ll just take longer for your wound to heal. The only solution you need to clean wounds is clean drinking water or a dilute povidone-iodine solution if the wound is particularly dirty.
Keep Your First-Aid Kit Current
Make a contents list so you can keep an inventory of items in your first-aid kit. Get into the habit of checking your first-aid kit before every outing. If any medicines and ointments have expired or have been used up, replace them. And make sure nothing is wet or spoiled.
BUILD YOUR OWN FIRST-AID KIT
As it says in the “First Aid” merit badge pamphlet, “the worst first-aid kit is the one that never gets made.” Make sure that doesn’t happen by buying a good first-aid kit or building one yourself.
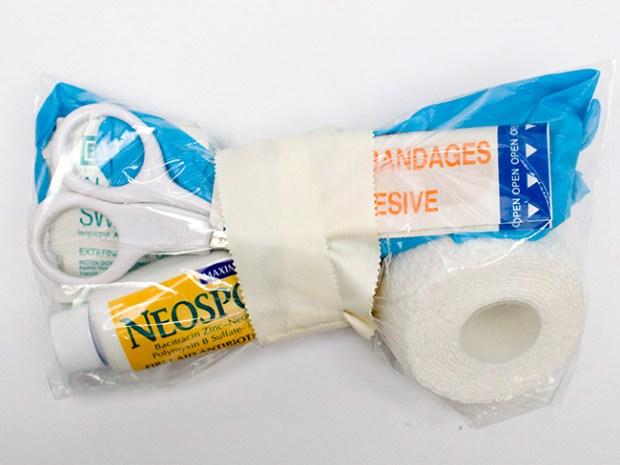
Personal First-Aid Kit
A personal kit should have the necessary supplies for treating minor injuries like scrapes and blisters. This can be kept in a resealable plastic bag or hip pack. Here are the basics for your pack:
- Six latex-free adhesive bandages in assorted sizes
- Two sterile 3-by-3-inch gauze pads
- Small roll of latex-free adhesive tape
- 3-by-6-inch piece of moleskin
- Disposable latex-free gloves
- Tweezers
- Scissors
- CPR breathing barrier
- Small bar of soap or small bottle of alcohol-based hand-sanitizing gel
- Pencil and paper or small notebook
- Small tube of antibiotic ointment (optional)
- Small tube of hydrocortisone cream (optional)
Some people are allergic to antibiotics and hydrocortisone creams. Be sure to ask permission before applying any ointments. People can also be allergic to latex, which is why it’s important to use latex-free products.
You can find preassembled first-aid kits at the Scout Shop.
For the Patrol
 A larger kit can have items to address more serious emergencies. This first-aid kit should cover one patrol on a typical outing:
- First-aid manual, like the “First Aid” merit badge pamphlet
- 1 2-inch roller bandage
- 2 1-inch roller bandages
- 2 rolls of 1-inch adhesive tape
- 6 alcohol swabs
- Water purification tablets
- 12 assorted adhesive bandages
- 2 elastic bandages, 3 to 6 inches wide
- 12 3-by-3-inch sterile pads
- Antiseptic towelettes
- 2 triangular bandages, 40-inch
- 2 3-by-4-inch nonadherent sterile dressings
- 5-by-9-inch trauma pad to stanch bleeding
- Moleskin
- 3 butterfly closure bandages
- Petroleum jelly
- Antibiotic ointment
- Insect repellent
- Scissors
- Tweezers
- Safety pins
- Aloe vera gel for sunburn
- 2 pairs latex gloves
- Mouth-barrier device
At Home
Gather these materials and keep them in a handy spot in the house:
- First-aid manual, like the “First Aid” merit badge pamphlet
- 2 2-inch gauze bandages
- Roll of 1-inch adhesive tape
- 12 3-by-3-inch sterile pads
- 12 assorted adhesive bandages
- 2 elastic bandages, 3 to 6 inches wide
- Thermometer
- Scissors
- Tweezers
- Box antiseptic wipes with benzalkonium chloride
- 2 pairs latex gloves
- Safety pins
- Calamine lotion
- Eye goggles
- Mouth-barrier device
- Small bottle antihistamines (Benadryl)
- Small bottle acetaminophen for pain and fever
- Small bottle ibuprofen for inflammation, muscle aches, pain and fever
Leave a Reply to HIGUY Cancel reply