Keeping warm on a cold night in an igloo
When it comes to building igloos, Troop 392 in Normandy Park, Washington, knows where to find paradise.
Almost every winter since 2000, the troop has sent Scouts to Paradise — a popular recreation area on the southern slope of Mount Rainier — to spend the weekend building and sleeping in igloos.
It’s not a super-challenging process, but it is time-consuming. It can take 6 to 8 hours to build an igloo big enough to house four Scouts for the night.
“Ever since I was a kid, I always liked being out there and doing that,” says 17-year-old veteran igloo-builder Daniel Thomas. “To be able to say, ‘Yeah, I slept in near-zero-degree weather, and I was actually fairly comfortable.’ ”
Since building igloos is a Troop 392 tradition, the older guys often help the younger kids do it right, which is critical to being safe and comfortable. An improperly designed igloo might leave you chilled or, worse, could collapse.
But when built correctly, an igloo can keep you nice and cozy in the chilliest conditions. Igloos insulate much better than tents, and they are unaffected by the wind.
You just have to know what you’re doing, and you have to be ready to work.
Safety First: Younger Scouts shouldn’t try to build an igloo without the help of an expert. Troop 392 often invites Webelos II Scouts on the snow camping trips, but the younger guys aren’t allowed to spend the night. They just help build the igloos and then go home. That way, they’ll be better prepared when it’s their turn to actually sleep in the snow.
1. Bring the right gear.
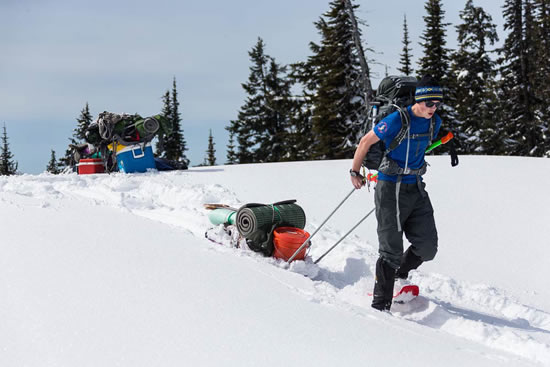
A strong-but-lightweight shovel will make things much easier. Some Scouts use saws to cut blocks of snow. Bring a tarp and a four-season tent, just in case your igloo building doesn’t go as planned.
2. Choose the right site.
Avoid areas prone to avalanches. Don’t build an igloo under a tree with branches loaded down with snow.
3. Prepare the site.
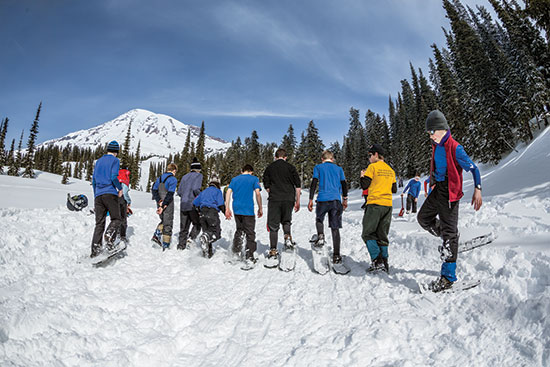
Clear the soft snow from the ground in an area about 20 feet by 40 feet. This will be the snow from which you’ll cut your blocks that will become the walls of the igloo. The Scouts of Troop 392 like to pack the snow in tight by walking around on it for an hour or so, then letting it refreeze.
4. Cut your building blocks.
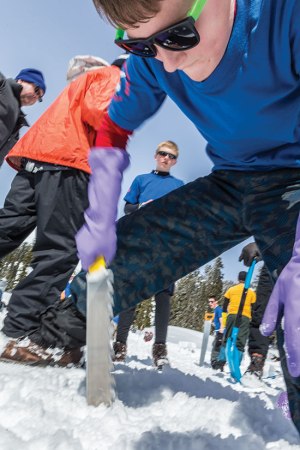
Make them about 6 inches thick, 30 inches tall and 36 inches long. Try to make all the blocks as close to the same size as possible. You’re going to need about 50 of them.
5. Build your foundation.
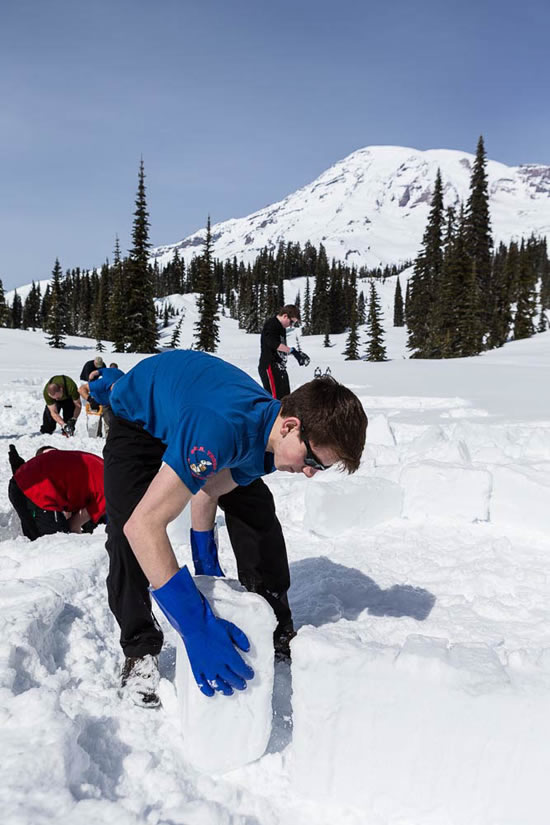
Start with a circle in the snow that’s about 10½ feet around. Set your snow blocks side by side along the circle, leaning the blocks inward just enough so they lock solidly against one another. Use the saw to make them even, and pack snow against the outside of the blocks to make them extra sturdy.
6. Create a temporary entrance.
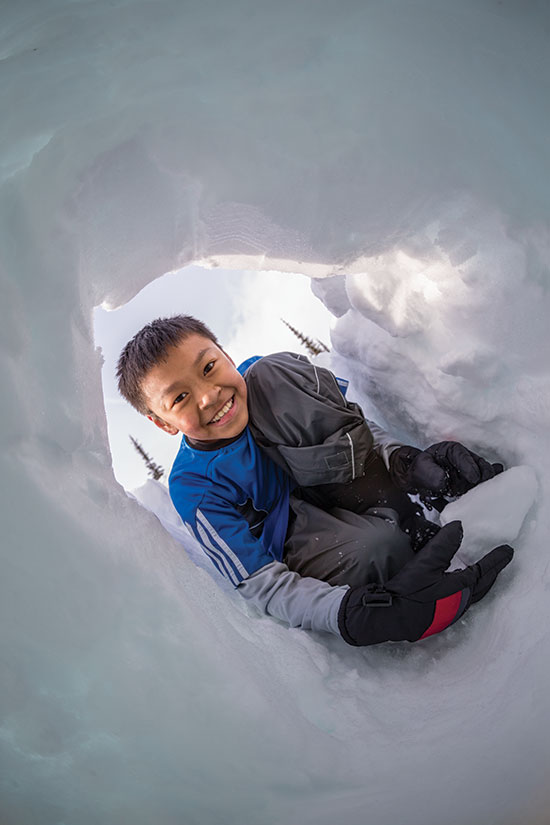
Remove one of the blocks from the foundation, and then move as many of the remaining blocks as you can inside the circle. (It’s easier to build an igloo correctly if both the builder and the blocks are inside.) Once you’re in, you can close the temporary entrance by replacing the block.
7. Cut spirals into your foundation.
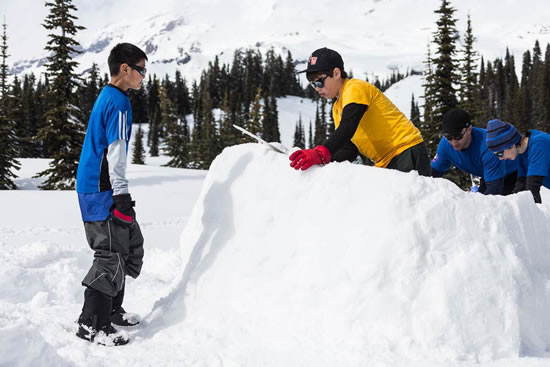
Use your saw to cut two 5-foot-long slopes into the first tier of blocks. This is important. The slopes are critical to making the igloo sturdy and windproof. Cut the tops of the blocks so they tilt inward toward the center of the igloo.
8. Build your walls.
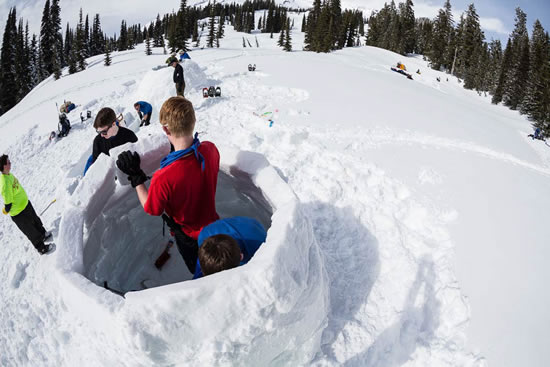
The next block should go at the low point of the spiral you’ve just cut into the foundation. Use the saw to trim it for a tight fit. Pack in some snow to fill in any spaces. Continue building upward, leaning each level more sharply toward the center of the igloo. As you get toward the very top, your blocks will be almost horizontal, but they should stay in place by being wedged into the surrounding blocks. Once the igloo is done, you should be enclosed completely. Remove a block from the foundation to crawl out.
9. Build an entrance.
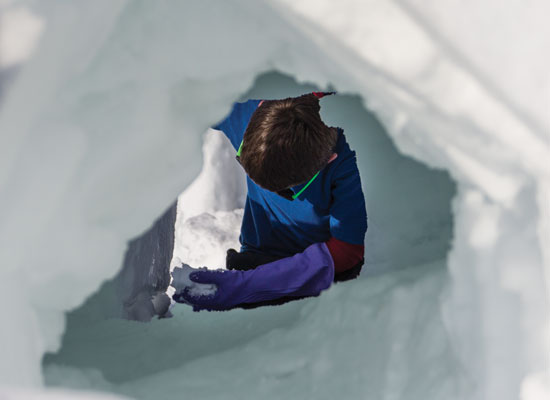
Start with a trench about 24 inches wide at the top and 36 to 48 inches wide at the base. The trench should run right into the igloo wall. Burrow under the wall and up through the floor to create an entrance. Lean blocks of snow over the trench to cover it.
10. Cut a hole.
Create a ventilation hole in the roof of your igloo. This will make the shelter much more comfortable. It’s great that you’re protected from the outside, but you need to be able to breathe, too. Some igloo builders like to add multiple holes.
11. Sleep well!
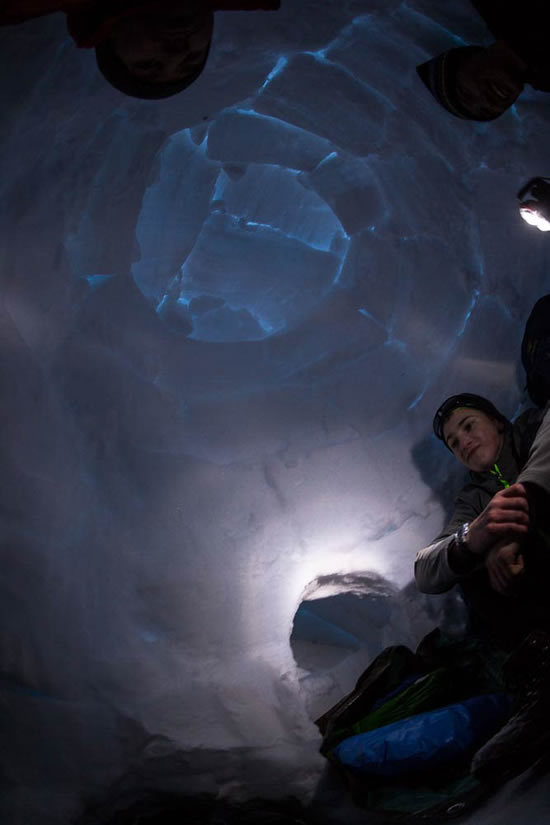
Change into some dry clothes — you might have worked up a sweat doing all that building — and bring your sleeping system into the igloo. It’s OK to sleep with your mittens, hat and whatever other extra clothes you need to stay warm, but be careful not to overheat and start sweating. Remove layers or open your sleeping bag to find the right temp for you.
12. Leave No Trace.
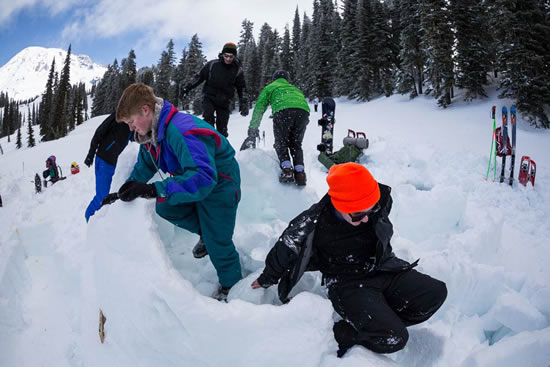
An igloo can stay solid for weeks if the outside temperature doesn’t warm up. That’s great if you’re living there, but assuming you’ll be going home after a night or two, you should tear down your shelter with shovels and some good old-fashioned stomping.
Related: BL Workshop: How to build an igloo


I was a scout a long time ago and stumbled across this while researching igloo building for the upcoming winter. I am gratified to see the current generation of scouts out in the wilderness having adventures and pushing themselves. Trust me, by doing things like this in your youth, you will be unfazed by things later in life that terrify grown men who lack your experiences. I have seen men weep and fret over situations that any self respecting first class scout would view as a mildly invigorating challenge. BP
I’m amazed by the fact that it’s possible to build an igloo that roomy and cozy with snow, even thought snow is associated with being cold.
Wow have you ever built one?