How to Paint a Pinewood Derby Car to Give It a Glossy Finish
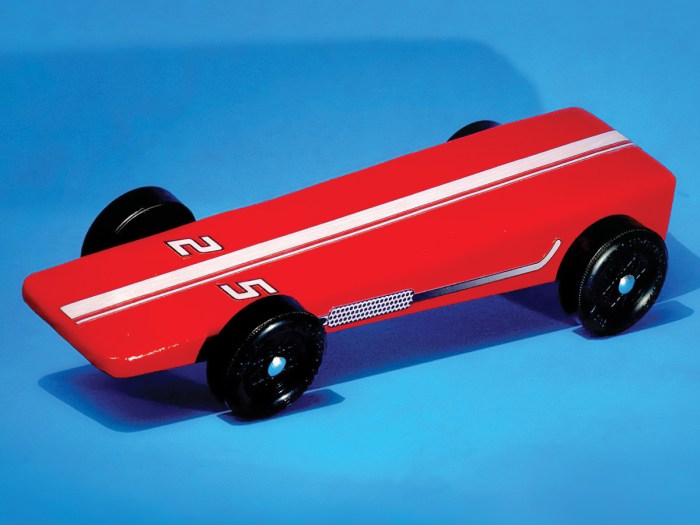
Need a fun way to paint a Pinewood Derby car? Sandpaper and paint can turn a block of wood into a sleek Pinewood Derby racer that looks as smooth as steel. The trick is using the right materials and allowing plenty of time.
Don’t wait until the last minute! For best results, you’ll need to start at least a week or two before the race. You’ll also need help from a trusted adult.
WHAT YOU’LL NEED TO PAINT A PINEWOOD DERBY CAR
- Coarse, medium and fine-grit sandpaper
- Liquid sanding sealer (sold at hobby shops)
- Enamel paint
- Decals or self-stick numbers (sold at stationery stores or hobby shops)
- Clear gloss spray paint
- Floor wax paste
WHAT YOU’LL DO TO PAINT A PINEWOOD DERBY CAR
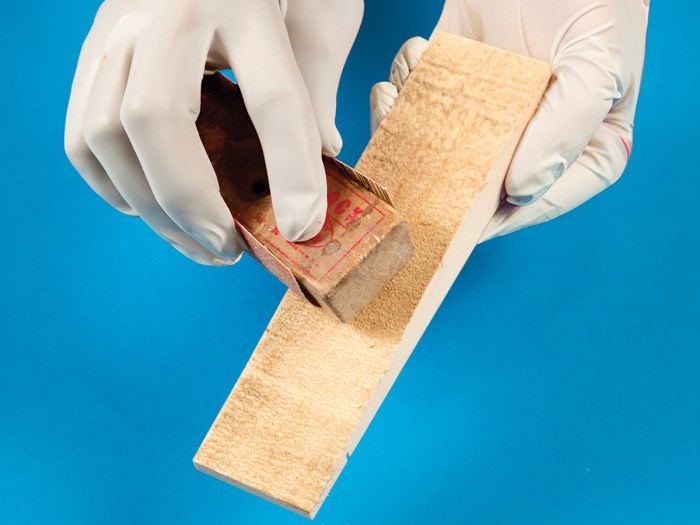
Wrap sandpaper around a block of wood for support. The block will help prevent lumps and bumps.
Step 1: Begin by wrapping sandpaper around a block of wood 1 inch by 3 inches. Without a block of wood for support, sandpaper can leave dips and gullies in the Pinewood Derby car’s body.
Round the corners of the pinewood block with coarse sandpaper. Change to medium-grit paper for smoothing rough edges. Finish with fine sandpaper to remove any sanding marks.
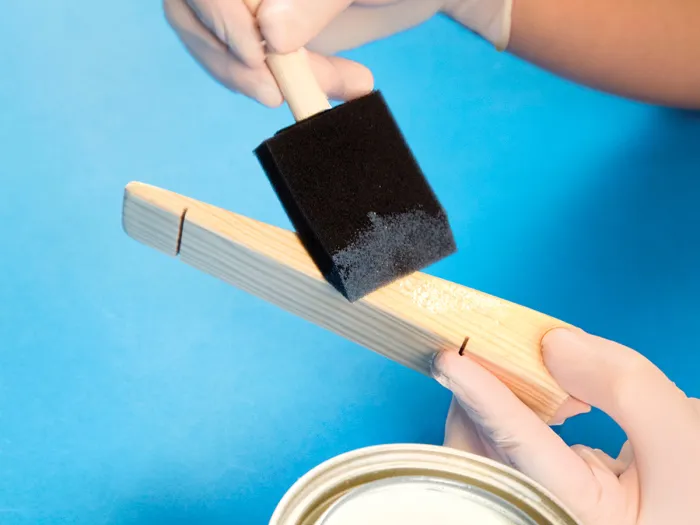
Hide the wood’s grain with at least two coats of sanding sealer. Let the sealer dry overnight.
Step 2: Just painting the pinewood won’t hide the wood’s grain. Apply two coats of liquid sanding sealer. Let the sealer dry overnight before sanding it lightly with fine-grit paper.
If the grain still shows, apply two more coats of sealer. Let it dry overnight and sand again. Repeat the process until the grain disappears.
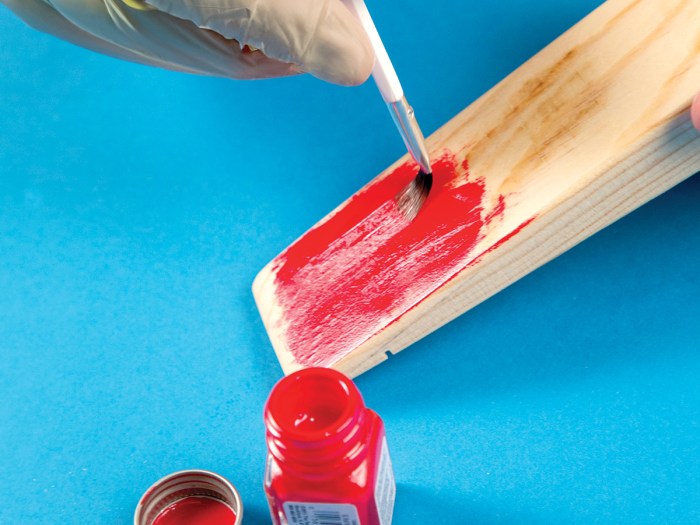
Apply paint with long, smooth strokes for a seamless finish. Dabbing paint causes splotches.
Step 3: Choose a color for your Pinewood Derby car. Then apply two to three coats of enamel paint to the car’s body. Spraying the model with paint from an aerosol can is easier than using a brush.
If you use a brush, dip only the lower third of the brush into the paint. Use single, smooth strokes instead of dabbing the paint on the car. Blend the strokes so they can’t be seen.
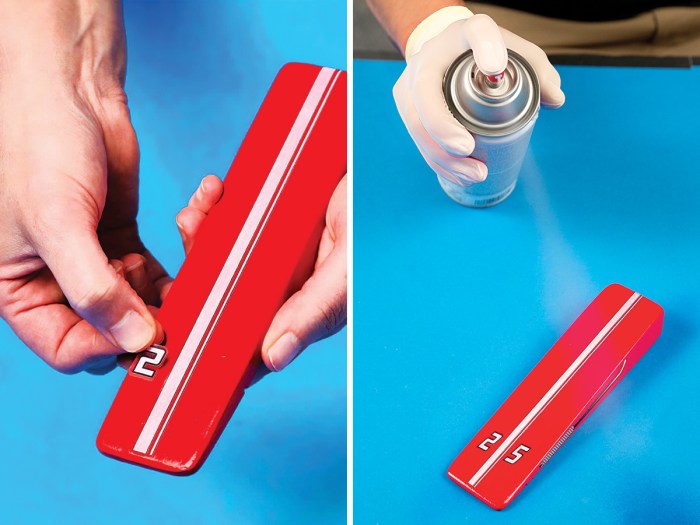
Stick-on numbers will stay in place on a smooth finish. Protect them with clear gloss paint.
Step 4: Place a race number on the Pinewood Derby car. Seal and protect it by spraying the entire car with clear gloss paint. Some clear paints might make the numbers curl. To make sure yours works, test it on a decal or number stuck to scrap plastic before spraying your car.
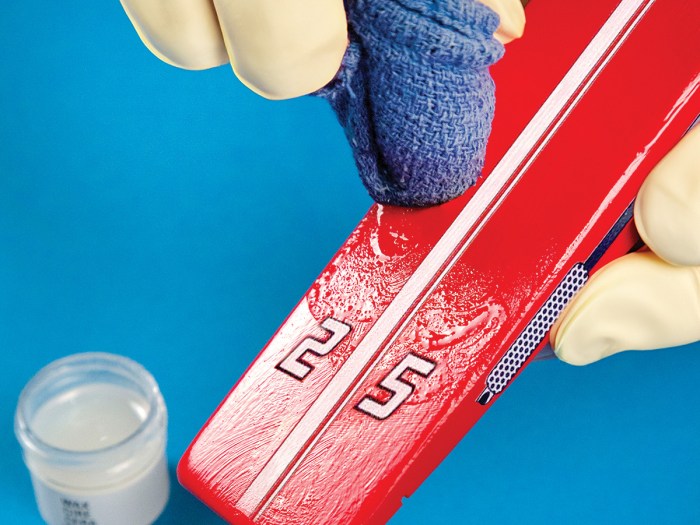
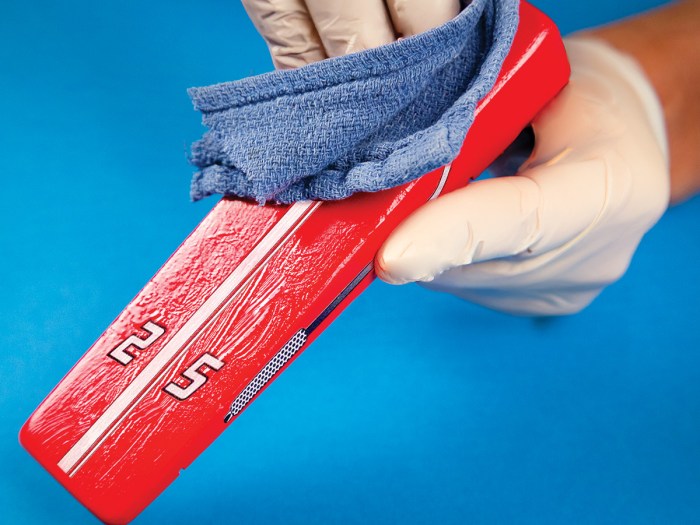
Apply floor wax and polish.
Step 5: Let the clear paint dry for at least a week. Then cover the Pinewood Derby car with floor wax paste and polish to a high gloss. The wax will protect the car and help give your racer the look of shining steel.
JUST DO YOUR BEST
This project requires help from an adult and lots of time and patience.
Instead, you can always just paint your Pinewood Derby car with one layer of paint from your local hobby store. It takes only a few minutes, and it still looks great.
The important thing is to have fun and do your best.
cool!
I think you should add i little extra weight
your good i wish i could do that.
Several coats of Krylon brand spray paint (in a gloss finish) over primer will give the same results (in the article) without the clear coat or the wax. Krylon is also good because it dries to the touch in about ten minutes, and can be handled safely in about an hour. This allows procrastinators (like me) to apply 2-3 coats of paint in one day, with professional-looking results!
I would also like to add that some light sanding with a fine to very fine grit sandpaper in between coats of primer and between coats of paint will create a very smooth looking finish to your paint job!
Guys, using modeling paint in a spray can over a primer and a couple coats of gloss do this without the waxing. In fact, that’s what I did from the 80’s to the 00’s using a hint from boys life about making a spray box, taking a block and putting nails level in it to set the car on so the paint covers the entire car and painting then waiting a few days in between each coat of primer, paint, and gloss.
How many ~oz. will this paint job add to your car
From my experience, the paint does not add THAT much in weight. However, I ensured my car was about 4.5 oz before I painted it. I placed all the pieces of the car with the weight on a scale and checked it. This will allow for the weight of the wood glue after cuts for weights and for the paint. My car was exactly 5 oz, my son did kind of the same thing and ended up at 4.8 oz.
awesome I love it
Thanks a million! This was helpful.
Although it might seem obvious to some-we do all of the painting and sealing before putting on the wheels and axels. Otherwise you risk gunking up both.
As a single mom, I can say THANK YOU, this really helped me out