How to Make a Faux Stained-Glass Pumpkin
Spice up your fall decor with a super fun and easy faux stained-glass craft! Follow our simple step-by-step guide to make a cool pumpkin design, or choose from other awesome Halloween-themed templates like ghosts, bats, and candy.
This project is perfect for kids and teens who love to get creative — no special skills needed! You’ll have a blast making your own spooky artwork to bring some Halloween vibes to your space this fall.
WHAT YOU’LL NEED
- Acrylic paint (black and other colors of your choosing)
- Aluminum foil
- Black permanent marker
- Bottle of clear glue
- Bottle of white glue
- Cup of water
- Glass or plastic picture frame
- Paintbrushes
- Paper plate
- Paper towel
- Design template
- Rubbing alcohol
- Toothpick
- Ruler
- Gloves
WHAT YOU’LL DO TO MAKE FAUX STAINED GLASS
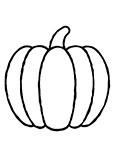
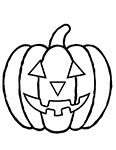
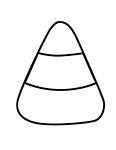
STEP 1: Download and print out one of the templates below. You can also sketch out your own design on a piece of white paper, but make sure the paper is the same size as the glass.


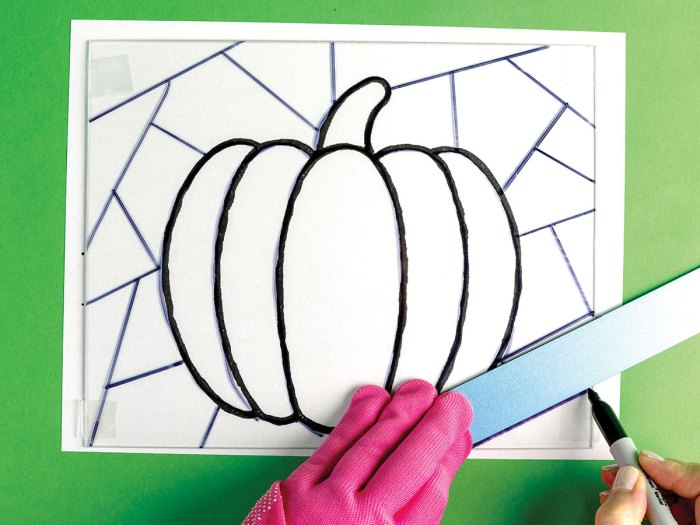
STEP 2: While wearing gloves for safety, remove the glass from the frame and clean it using a paper towel and rubbing alcohol. Tape your design to the back of the glass. Trace the pumpkin onto the glass using a black permanent marker. Using the ruler, draw lines around the pumpkin to fill in the open space. Set aside.

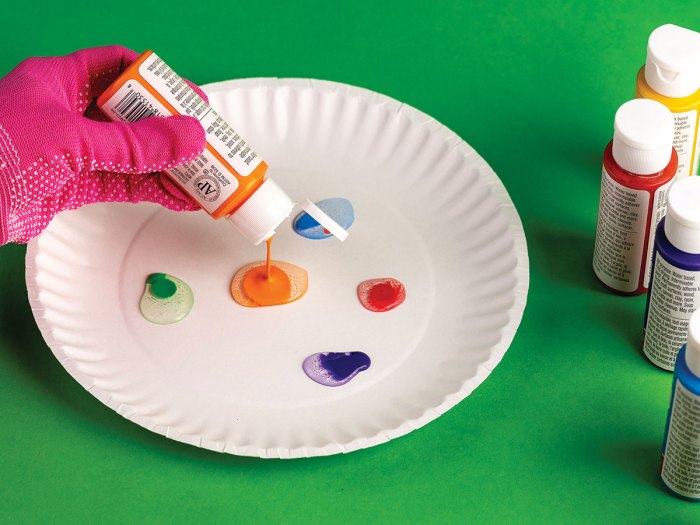
STEP 3: Make the colors for your design. Mix a few drops of clear glue and your choice of acrylic paint onto a paper plate. Repeat this step for each color you use. The same plate can be used for multiple colors. Be sure to mix enough for each shape that you want to fill with that color.
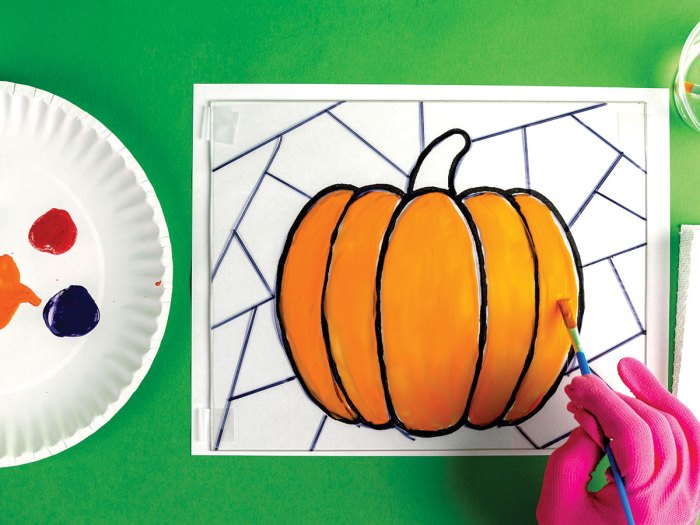
STEP 4: Fill in your design using your paintbrushes. Optional: You can either remove the template from underneath your glass or leave it in place while you paint.
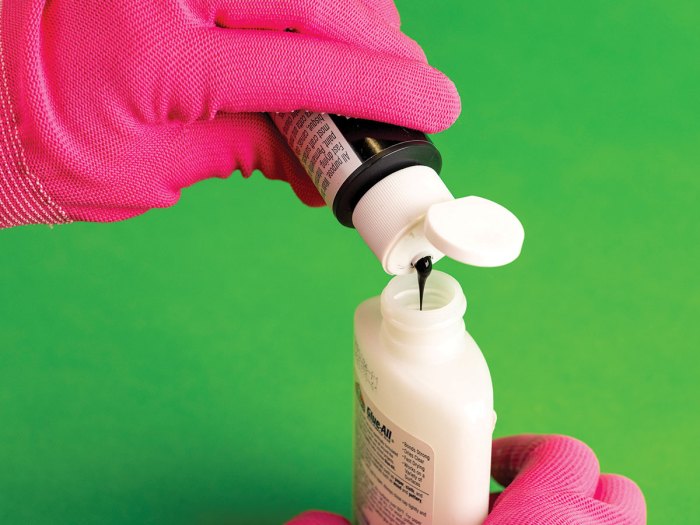
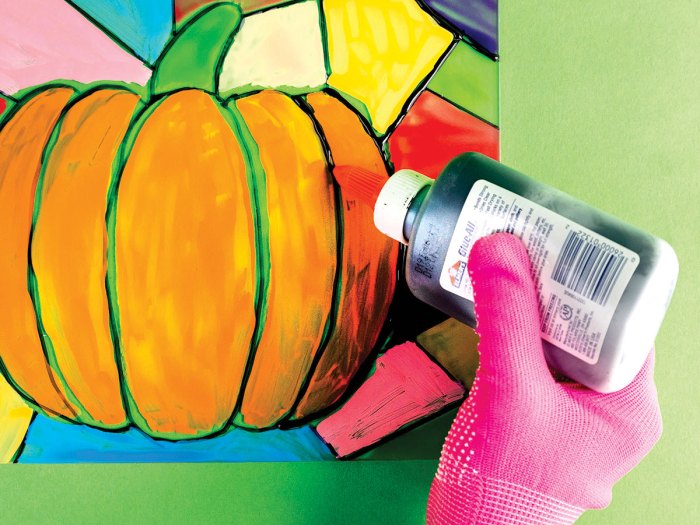
STEP 5: Add a few drops of black acrylic paint to the bottle of white glue. You might have to empty a small amount of glue into another container to make room for the paint. Close the bottle and shake it until the glue is completely black.
STEP 6: Trace over your design using the black glue mixture. Try to keep your hand as steady as possible. Use a toothpick to clean up your lines and to pop any air bubbles. If you make a mistake, wipe the area using the rubbing alcohol and a paper towel and simply repaint it. Let it dry overnight.
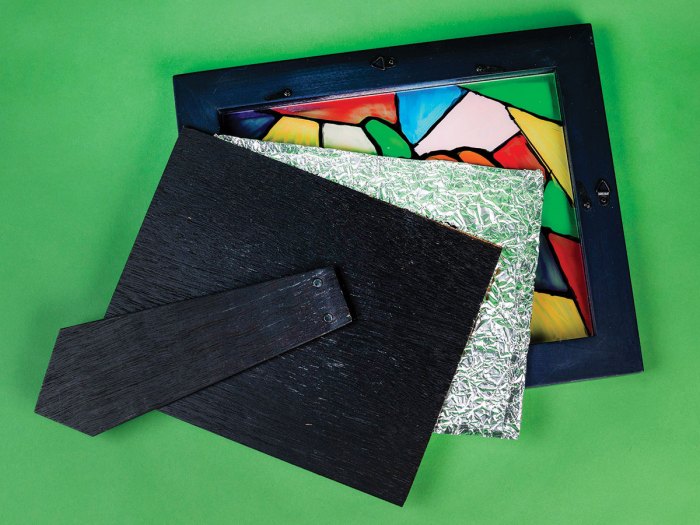
STEP 7: After your design is completely dry, put the glass back into the frame. Next, place a piece of crinkled foil (that fills the frame) behind the glass to give the design a stained-glass look. Put the frame backing in place and display your masterpiece for everyone to see.
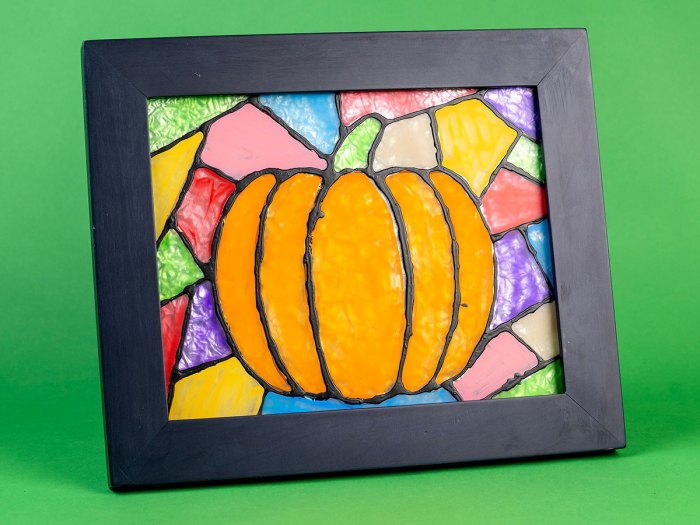
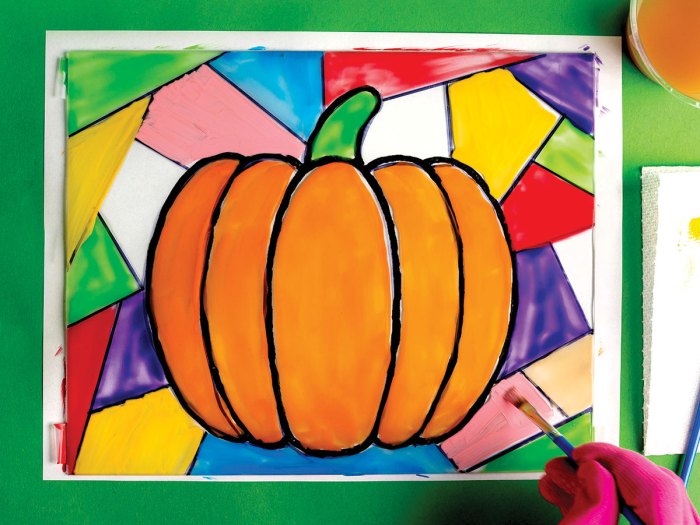
PHOTOS OF COMPLETED PROJECT
Check out these photos of completed faux stained-glass art. If you have a photos of a SL Workshop project, please use the form below to send them to us.


I love this keep up with the good work.