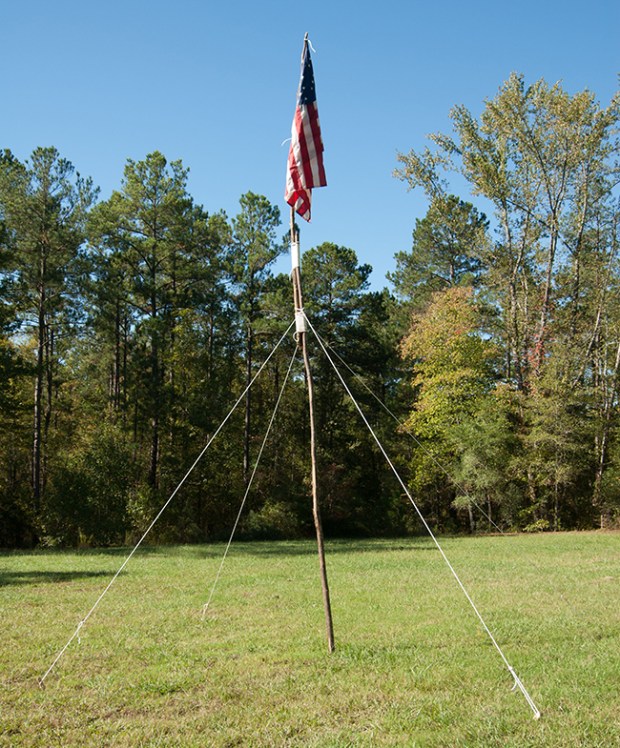
How to Build a Flagpole For Your Camp

Show your colors by building a flagpole for your camp. It’s easy if you have the pioneering skills.
WHAT YOU’LL NEED
- Two 15 to 20-foot spars about 4 inches in diameter
- Four anchors
- Mallet
- Rope
- Flag
WHAT YOU’LL DO
Step One: Choose a spot for your flagpole, and lay both spars along the ground parallel with each other, with about a 4-5-foot overlap. The thickest, heaviest end of the biggest spar should be the bottom of the pole. The smallest spar will be the top of the pole.
Attach the two spars to each other by tying a clove hitch near the bottom of the smallest spar, and then wrapping the rope around both spars as tight as you can 15-20 times, then ending with a clove hitch around both spars. This is a round lashing.
Repeat the process at the top of the biggest spar.
Step Two: Attach two lengths of rope to the middle section of both spars with a lark’s head knot. These are the ropes that will hold your pole up.
Step Three: Attach a flag to your pole with a series of square knots. Raise your pole and lay the attached ropes out in a perimeter around the pole. Install anchors into the ground with the mallet at the bottom of each rope.
Step Four: Attach ropes to anchors with a taut-line hitch.
Step Five: Step back and salute the flag.
Great video thank you so much….learn it and teach it to your scouts before going out and camping….practice, practice, practice!
Does this work in the wind?
Very clear video lesson.
As with any instruction it’s best for the Scouts to draw/write their own reminders then go into immeadiate practice. Someone once said we learn by doing.
I like it but where do you get the spars?!?!?!?!?!?!?!?!?!?!??!?!??!?!??!?!?!?!?!?
To Cub Scout: I’m attempting something similar. I got my spars at the scout shop. I bought six scout staffs: one for each scout. I think we’ll only use four for the flag pole. A scout staff is 5 feet long. It looks very much like a nice thick broom handle. They only cost me $5.00 each.
We use 2′ dia. x 8′ tree stakes for our lashings. Easy to get at any box home store, short enough to load in most vehicles, and strong enough to build most anything your can imagine!
We lash a big carabiner to the top of the pole (pipe lashing works great) then run a loop of rope through the ‘biner. Then you can tie two simple knots in that rope to attach the flag with carabiners, so you can easily raise and lower the flag each day. Lashing an extra biner at the bottom makes it easy to tie off the extra rope, but we find it’s not necessary and so often skip doing this.
The videos are great but all of you have good ideas(diagrams are good, videos are good)
the video idea was good but it doesnt help while at a camp
The videos are brilliant!!! I agree with Scout Mom, for those of us who have a hard time deciphering the diagrams the videos are time saving and easy to understand medium of instruction. Simply awesome!!! Diagrams do help of course for memory aids after learning through the videos. But, given the choice of videos and diagrams, I would definitely prefer the videos. Learn the knots and techniques at home or at school thoroughly – put them into memory. In the field, it is operation time. It is time to put what one learns into practice without the hustle and bustle of carrying diagrams around and referring to them. Thank you Aaron Derr and the videos producer for this most instructive means of disseminating knowledge.
I think the videos are great! For those of us who have a hard time deciphering the diagrams the videos help further explain how to do the knots. I do agree, though, that pictures and diagrams would be a help while on a trip.
common sense test-yes videos are terrific for instructions however not so transportble to camp with no electricity-diagrams would have been much more useful and practical