How to Plan a Photo Scavenger Hunt

Turn your next visit to the park into a modern-day scavenger hunt. Use a digital camera or smartphone to create a trail of photo clues depicting park landmarks. You can increase the hunt’s level of difficulty by including challenge questions.
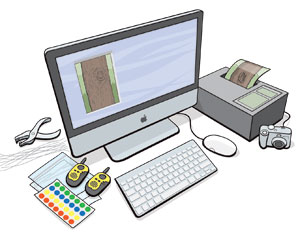
WHAT YOU’LL NEED
- Digital camera (or smartphone), photo paper and printer
- Colored stickers
- Zippered sandwich bags
- Tape or hole punch and string
- Cellphones or walkie-talkies
WHAT YOU’LL DO
Step 1: Take Me to Your Leader
Gather a group of at least five friends. One person should be designated as leader. This person will create the hunt and act as a guide when players get stumped. You could also ask a parent or Scout leader to fill this role.
Step 2: Go Photo
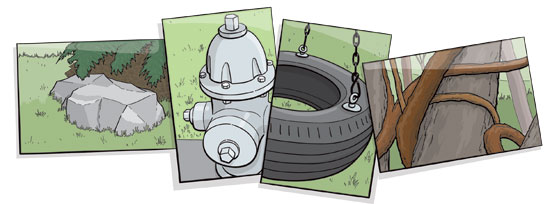
Snap photos of distinctive permanent landmarks in a local park: a gnarled tree, tire swing, fire hydrant, tree stump, trailhead sign, boulder, etc. Fifteen clues yield about a one-hour hunt.
Step 3: Create Clue Sets
- Download and print one copy of each photo clue for each team. Each team needs a complete set of photo clues.
- Assign each clue a number.
- Write clue locations on a master list, identifying each location shown in the photos.
- Assign each team a color and mark each team’s set of clues with its own color-coded stickers.
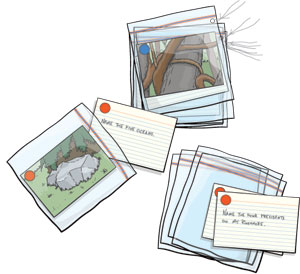
- Separate clues into sets so each team has its own color-coded clue at each location, and put each clue into a separate zippered bag to protect it from rain or sprinklers.
- Scramble the sequence of clues for each team, so teams don’t arrive at clue sites at the same time. (Example: The blue team will track clues in the order of 1, 2, 3, 4, 5; the red team will track clues in the order 2, 4, 1, 3, 5, and so on.)
 Step 4: Ramp It Up
Prepare challenge questions on index cards in categories such as weather, careers, Scout trivia, animals or geography. Insert an equal number of challenge cards in each team’s clue sets. When teams encounter challenge cards, they must contact the leader and answer a question before going after the next clue. Using challenges for every clue prolongs the hunt.
Step 5: Post Clues
On hunt day, place zippered bags of clues at locations identified on the master list. With tape (or hole punch and string) secure the bags to a fixed object within sight of the discovered landmark clue. These clues will lead teams to their next target site.
 Step 6: Ready, Set, Hunt!
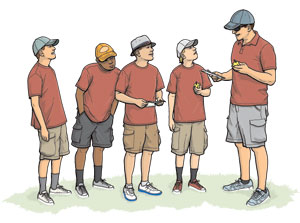
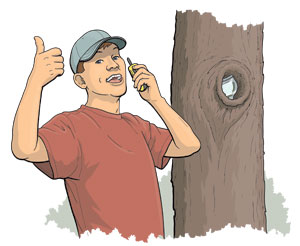
- Each team should have the leader’s cellphone number or walkie-talkie frequency so they can contact him for suggestions (such as “Look up” or “Go north about 10 yards”) if they’re stumped and to answer challenge questions. The leader will have the master list of clue locations and answer sheet for challenge questions.
- Give each team a different photo clue to get them started.
- Teams disperse to track their photo clues. When they find the first location, they get their next color-coded clue from the bag posted nearby.
- The first team to arrive at the final clue site or a designated home base wins.
SAFETY (AND COURTESY) FIRST
- Stay within identified boundaries of hunt area.
- Do not separate from your team.
- Do not engage strangers en route.
- Keep cellphone or walkie-talkie turned on.
- Do not sabotage other teams’ clues.
- Be sure to retrieve bags and other materials after the hunt is finished.
Great perk for the Photography MB!
Great 😀
How about using compass heading to practice map and compass skills.
I think that it will be loads of fun.But first I must borrow my mom’s camera. I just love the idea.☺
Printing? How 1993. Use the digital image, photostream or shared cloud.
Great idea. I’m going to modify this for my students when they go camping.
Cool!!!!!!!!!!!!!!!!!!!