How to stencil custom shirts
Create T-shirts or flags for your pack or troop with this easy and fun stencil project.
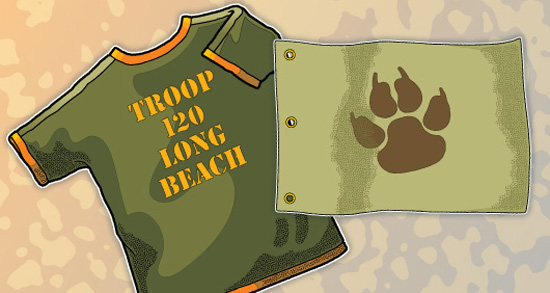
WHAT YOU’LL NEED
- 1″ x 2″ x 6′ board
- Pencil
- Tape measure
- Crosscut saw
- Drill
- Drill bit sized for predrilling screw holes
- Countersink bit
- 8 1-1/4″ wood screws
- 4 2″ flat corner braces
- 4 bricks
- Sheet of lightweight acetate
- Hobby knife
- Fine-grained sponge roller
- Textile or acrylic paint or screen-painting ink
- Heavy paper plate
- Sheet of cardboard or heavy paper, slightly larger than your stencil and small enough to fit inside the shirt
- Tape
- T-shirt or homemade flag
WHAT YOU’LL DO
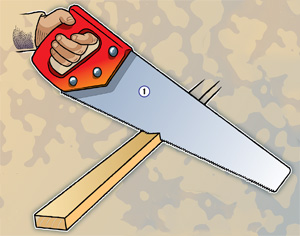 1. Cut four 1″ x 2″ x 16″ boards.
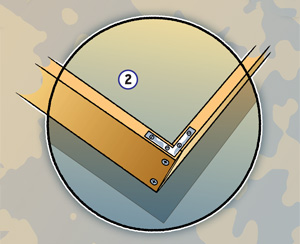 2. Predrill and countersink screw holes, then screw your frame together. Strengthen each corner with a 2″ flat corner brace.
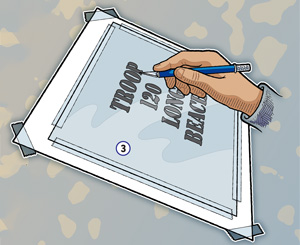 3. Choose a design and carefully cut it out of the acetate. You can use a printout from a computer or draw your own design. Cutting out the design can be the tedious part of the project. Be careful to cut on a surface that can’t be damaged. Acetate is strong enough to stencil several shirts.
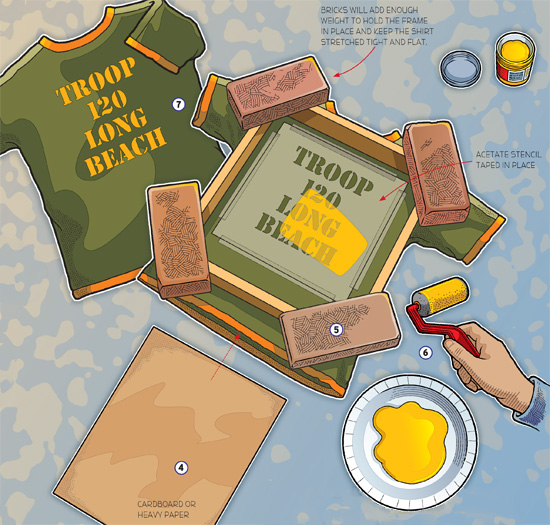
4. Lay a T-shirt on a flat surface. Slide the cardboard inside the shirt so the paint or ink does not bleed through to the back of the shirt.
5. Lay the frame on top of the shirt. Smooth the shirt out and place a brick on each corner of the frame. The bricks hold the shirt flat and in place. Tape the stencil in place. Textile paint, acrylic paint and screen-printing ink are all thick and will not bleed under the stencil if you apply a thin coat to the roller and stencil.
6. Put the paint or ink onto the paper plate and roll a thin coat onto the sponge roller. Roll the ink through the stencil and onto the cloth. It might take two or three coats to get a nice solid color. Make sure you clean the roller and allow the ink to dry between coats.
7. When the final coat is dry, enjoy your custom shirt or flag.
WE have done something similar with our boys except we cut designs out on parchment paper then ironed it to shirt.We used speed ball ink found at Micheals crafts store to paint on stencil with small foam brush. Set by ironing when dry.Turned out great washed O.k.( My Son has worn hhis at least 20 times.
Can it go through the wash??? Will the washin machine take off the paint or ink?
If use the right paint it will. Turn it inside out to wash, it will make the design last longer.
If you are using acryllic fabric paints, it should be able to go through the wash without a problem. Allow it to dry for at least 24 hours before washing.
im gonna try this looks so cool maybe even make some money
I am going to try it right away
Can’t wait to try this out!
can it be used on harder surfaces not just fabric?
This will be a fun idea to try!
T-shirt