How to Make a Rustic USB Drive Case
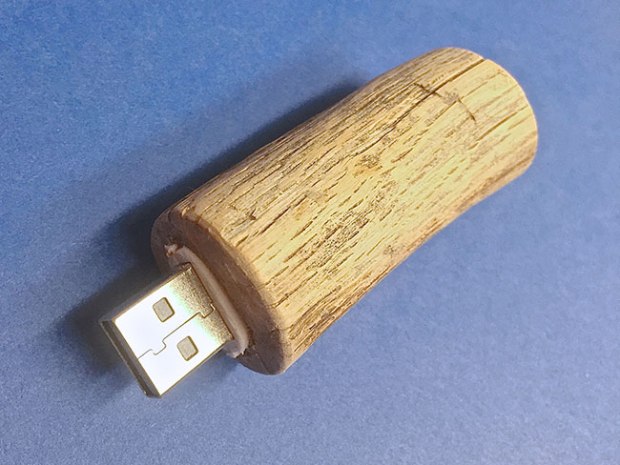
Add a touch of nature to your USB drive with this DIY case.
WHAT YOU’LL NEED
- One USB drive. The dimensions for this project are based on a USB drive that is 2 1⁄8″ long, 3⁄4″ wide and 5⁄16″ thick.
- One dry stick, 1″ in diameter and at least 5″ long. Find a stick that is straight and solid with no decay.
- Vise or clamps to hold the stick firmly while cutting and drilling
- Fine-toothed saw
- Drill
- 3⁄8″ drill bit
- Masking tape
- 1⁄4″ wood chisel
- Sandpaper
- Fast-drying glue
- Wood glue
- Pocketknife
WHAT YOU’LL DO
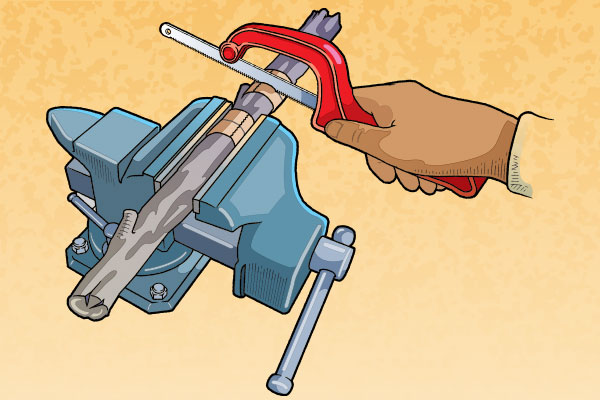
Step 1. Choose a section of the stick that you want to use. Wrap a piece of masking tape around the stick where the cuts will be made. This will keep the wood from splintering. Secure the stick in a vise or use another type of clamp. Cut a section 2 1⁄2″ long. Go slowly and be careful not to cut on a slant. After cutting the stick to length, leave any remaining masking tape in place. Save the sawdust to make wood putty later.
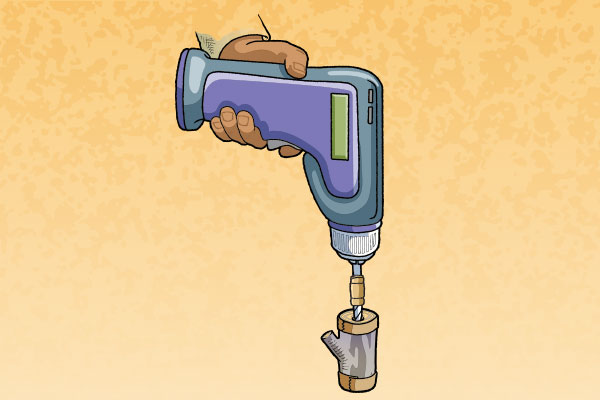
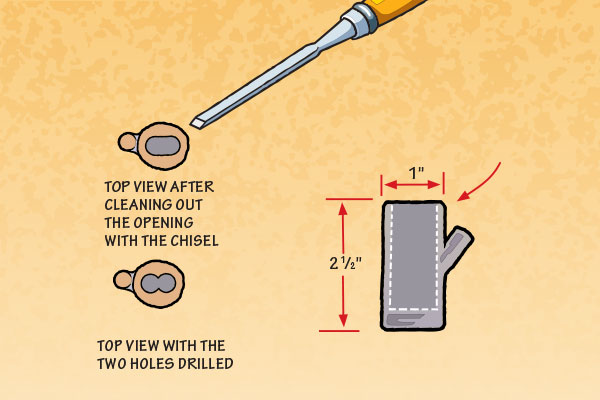
Step 2. Before drilling, mark the drill bit at 2″ by wrapping masking tape around the bit. Drill two 3⁄8″ holes side by side, 2″ deep. Make sure the holes are drilled straight. Use the chisel to remove any wood between the holes until the USB drive fits into the hole. There should be about a 1⁄8″ plastic collar of the USB body sticking out beyond the end of the wood.
Step 3. Remove the USB drive. Remove any remaining tape and sand the stick so the edges are smooth and slightly rounded.
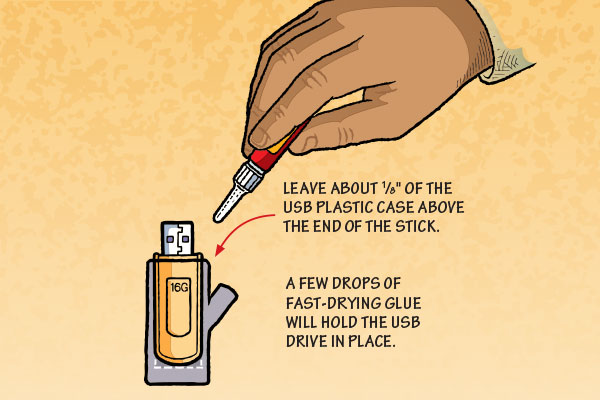
Step 4. Apply a few drops of fast-drying glue to the body of the USB drive and fit it back into place.
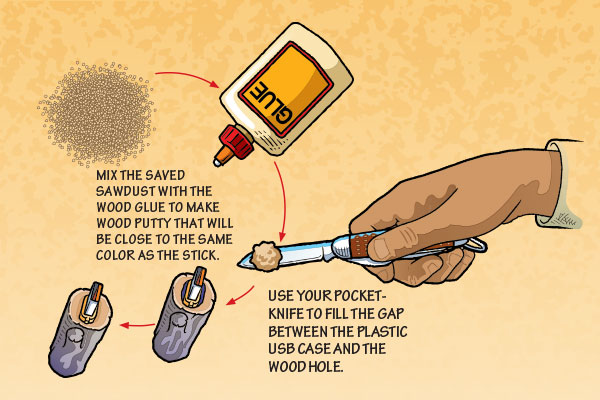
Step 5. Mix the saved sawdust with the wood glue until it is formable putty. Carefully use the pocketknife to press the mix into the gap around the USB drive. Try not to get any putty on the plastic collar of the USB drive. Let it dry overnight, and your project is complete
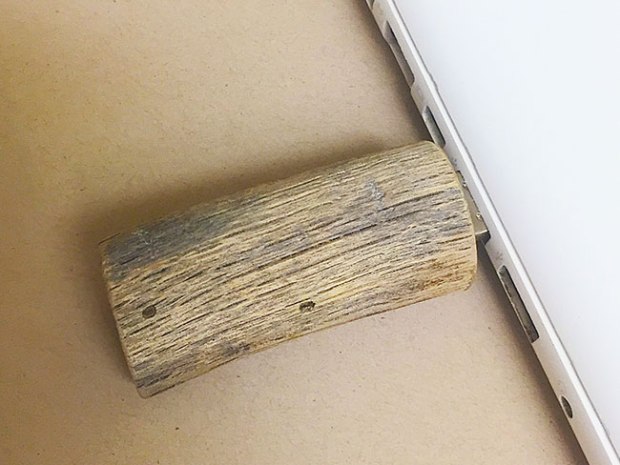
Just add a stain to this and it would be perfect!