Build a recycled robot
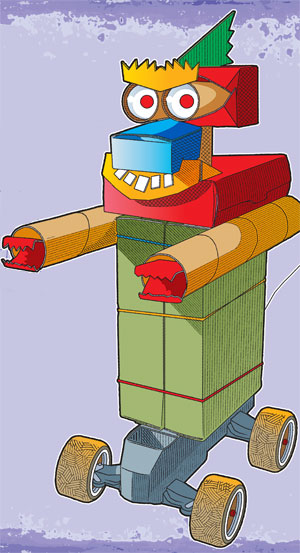
For decades, Boys’ Life readers have built their own GISMO robots. But now, we’ve introduced GISMO 5. Yes, GISMO is back and has gone green!
 The green GISMO is easy to build from a radio-controlled truck or car and discarded product packaging — stuff that would usually wind up in a landfill. Body segments are connected with Velcro dots or strips and rubber bands, so it’s easy to add extra sections. And, of course, replacement parts are easy to find.
You can build the basic GISMO 5 for about $25, even less if you can find parts around the house. The base of GISMO 5 is a radio-controlled car or truck chassis. Several readers who put together our last GISMO found inexpensive radio-controlled trucks at flea markets or garage sales.
WHAT YOU’LL NEED
- Chassis from a radio-controlled truck or car.
Choose a medium-size vehicle with thick tires and a not-too-fast motor for stability. (High-torque units accelerate so rapidly that they can cause tip-overs.) If you plan to have ‘bot battles with friends, choose vehicles on different radio frequencies so they don’t interfere with each other. You’ll find the info on the outside of the box, usually “49 MHz” or “27MHz” or channel numbers. - A variety of boxes and cardboard tubes. Find boxes with different shapes and sizes.
- Velcro dots or strips
- Large rubber bands
- Hot glue gun
- Scissors
- Optional accessory items (Ping-Pong balls make great eyes)
WHAT YOU’LL DO
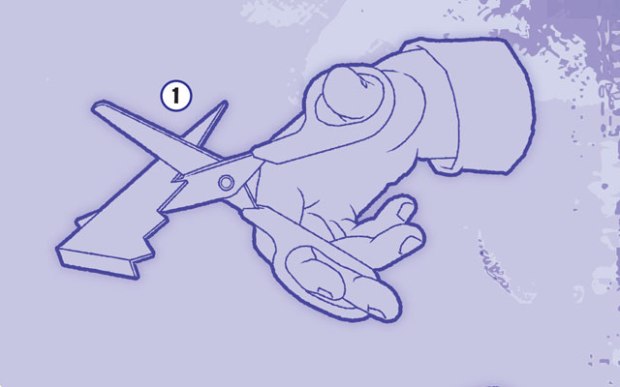
1. Use scissors to cut out add-ons like fins, wings, teeth and claws. With a little folding, you can trim boxes to different sizes and shapes.

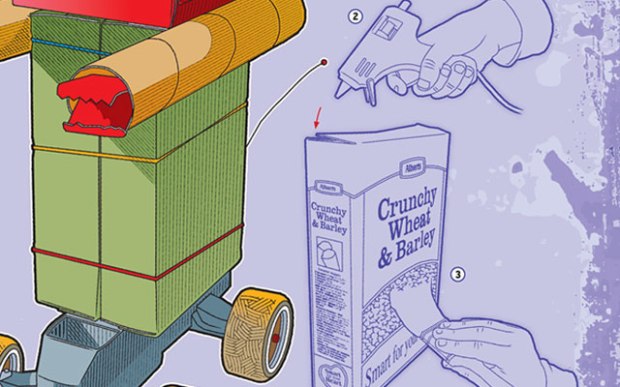
2. Use the glue gun to glue lids shut and reshaped boxes together. This will make your robot more durable.

3. Paint the boxes or leave them as is.
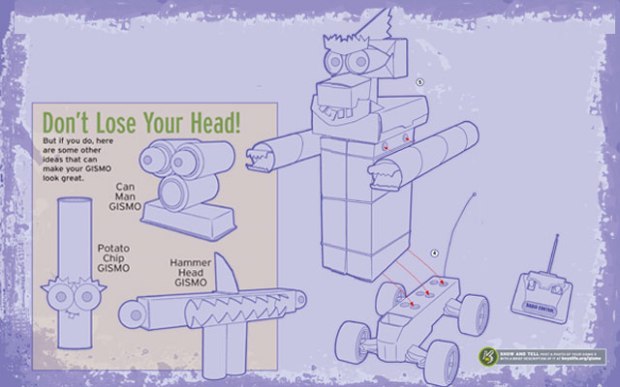
4. Turn the vehicle over and remove the screws that hold its body to the chassis. Carefully lift the body off and, if necessary, pull the antenna wire through the hole in the body. Save all body parts and screws. Apply Velcro dots or strips to the top of the chassis.

5. Use Velcro and rubber bands to assemble the robot. You can make your robot look any way you want. Remember not to make it too tall, or it could fall over when you are operating it.
6. Test your robot for stability, and add more rubber bands and Velcro if needed.
I’M BUILDING ONE!!!!!
This is so cool!!!!! I am going to build one . I will customise it and make it look like it is for war. Then I will take it to school for a science project
i think at cool
That looks KOOL Ima make one
i am making one
That looks awesome i am going to build one
I like the idea im making one for the blue & gold this year
sweet! the best part is you can customise it.
cool
WOW