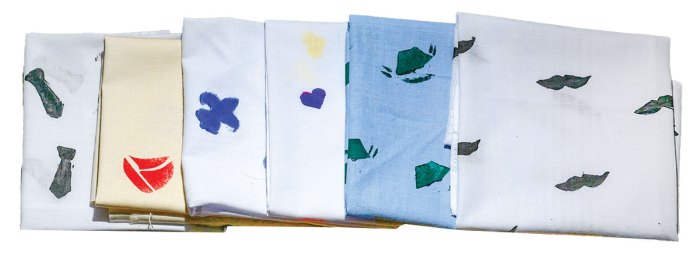
How to Make a Stamped Handkerchief

Surprise Dad with a one‑of‑a‑kind gift! Make homemade stamps and use them to turn a plain piece of fabric into a custom handkerchief filled with designs that mean something to him. It’s easy and totally fun — follow our step‑by‑step guide and start stamping!
WHAT YOU’LL NEED TO MAKE A STAMPED HANDKERCHIEF
- Adhesive foam
- Fabric paint
- Pen
- Plastic lid or tray
- Scissors
- Piece of fabric or plain handkerchief
- Piece of felt
- Stencil
- Wooden block
WHAT YOU’LL DO TO MAKE YOUR CUSTOM HANDKERCHIEF
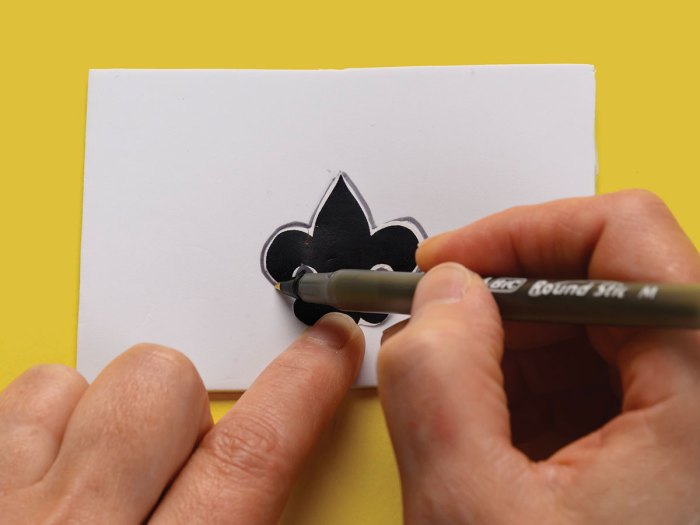
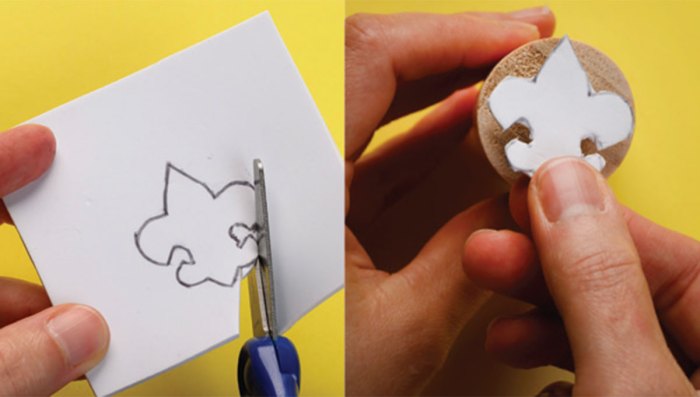
Step 1: Download and print a stencil design. Cut out the stencil and trace it onto the adhesive foam using a pen. Note: You can also freehand your graphic, but keep it simple so it’s easy to cut out.
Step 2: Cut out your drawing. Remove the paper backing of the foam and stick it on your wooden block. Note: You can also use a Lego brick, Play-Doh container, Gatorade bottle top, etc.
Step 3: Create your stamp pad. Pour a generous amount of fabric paint onto a plastic lid or tray, and lay a piece of felt on top of the paint.
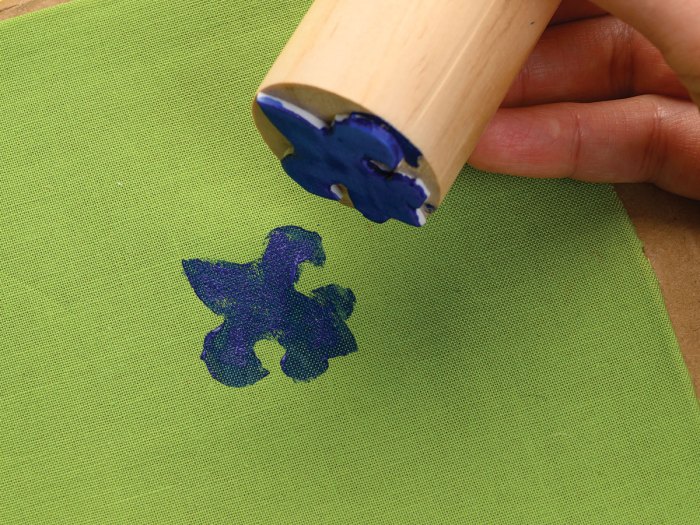
Step 4: Take your wooden block and stamp at the felt until the paint bleeds through. Now stamp away on your handkerchief. If you need more paint, lift the felt and add more drops to the tray. Let your handkerchief dry in a safe area for about two hours before using.
Leave a Comment