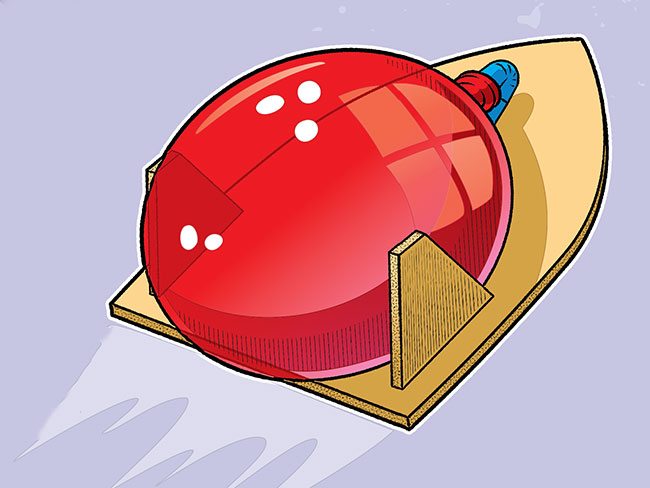
How to Make a Balloon-Powered Hovercraft

WHAT YOU’LL NEED
- 1 4-by-7-inch foam board (A thoroughly cleaned foam meat tray works great.)
- 1 large flex drinking straw
- Average size balloon
- Scissors
- Hole punch or pencil
- Glue gun
- Pin
- Tape
WHAT YOU’LL DO
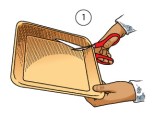
 Step 1. Cut out the bottom of a foam tray. Be careful not to bend it.
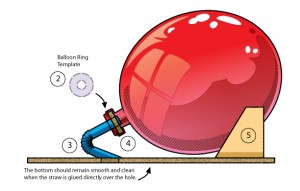
Step 2. Place the flat foam under the body template and trace it by poking holes with a pin along the outline of the template. Also trace the straw slot. Trace two fins and the balloon ring using the same method. Cut out the foam shapes with the scissors. Make a center hole in the balloon ring with a hole punch or a sharp pencil point. To download a template to trace click here.
 Step 3. Cut a sharp angle on one end of the straw and make a flat cut on the other as shown.
Step 4. Stretch and bend the straw, then glue the balloon ring to the flat end. Stretch the balloon over the circle. Carefully glue this assembly over the straw slot so that no glue is inside the straw and none of the straw or glue is below the bottom of the body.
Step 5. Glue the two fins to the rear sides of the body.
 Step 6. Make an inflating straw by taking the leftover half of the straw and cutting two 1/2-inch slots in it. Roll the end into a taper with your fingers and tape together. Use the inflating straw to blow up the balloon from the bottom. Pinch the neck of the balloon and release on a smooth, clean floor.
HOVERCRAFT TIP
The hovercraft will work properly only on a smooth, clean floor. The bottom of the hovercraft should also be smooth and clean.
I tried a different model and it didn’t work =(
I am going to do this in 5 weeks
awsome
Cool and awsome
seems easy
it is cool
Maybe I will try it
Wow that sounds really cool.
🙂 gonna be doing this as a fun activity for some GATE elementary kids (outreach for my robotics team)
doing it for science project. sounds fun.