How to Make a Duct-Tape Wallet
Duct tape comes in 2-inch-wide rolls and is available in many colors. Here’s how to use some to make this handy duct-tape wallet that will last for years.
WHAT YOU’LL NEED TO MAKE A DUCT-TAPE WALLET
- Duct tape
- Ruler
- Scissors or utility knife
WHAT YOU’LL DO TO MAKE A DUCT-TAPE WALLET
Step 1: Cut four strips of duct tape, each 9″ long. With the adhesive side up, stick the duct-tape strips to one another in a row, with a 1⁄4” overlap.
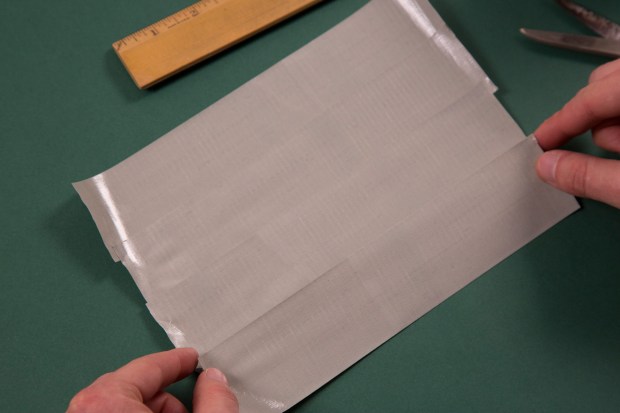
Step 2: Make a second sheet. Carefully stick the adhesive sides of the two duct-tape sheets together, lining up the edges.
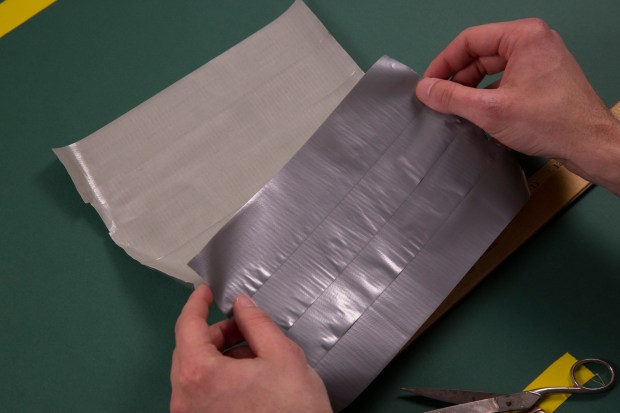
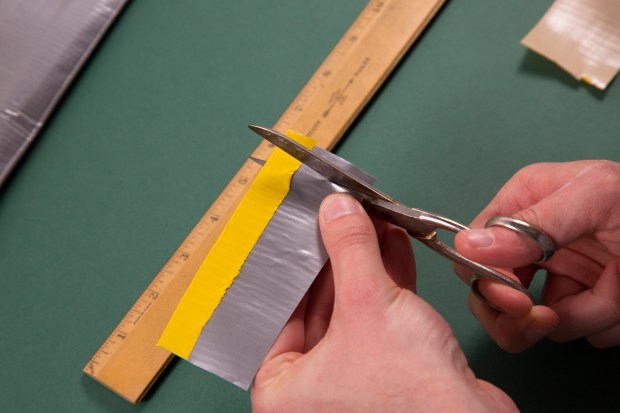
Step 3: Cut another 9″ strip of duct tape. Use a utility knife or scissors to make a small cut in the center of one end of the duct tape. Tear the strip into two straight 1″ strips.
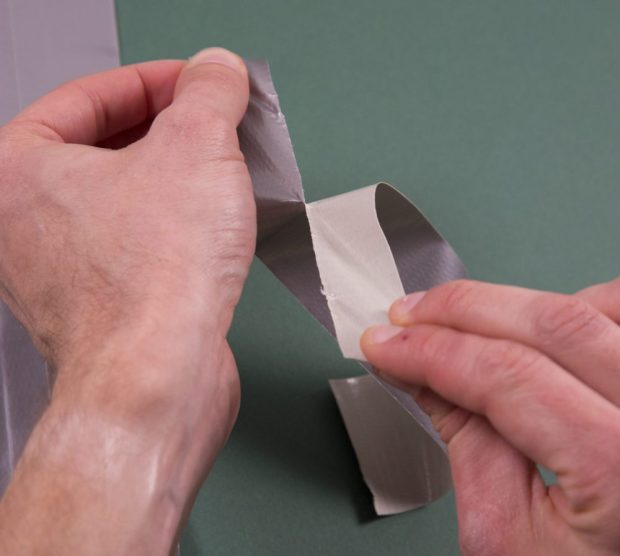
Step 4: Fold and adhere the 1″ duct-tape strips to the 9″ ends of the sheet. This will make a smooth, clean finished edge.
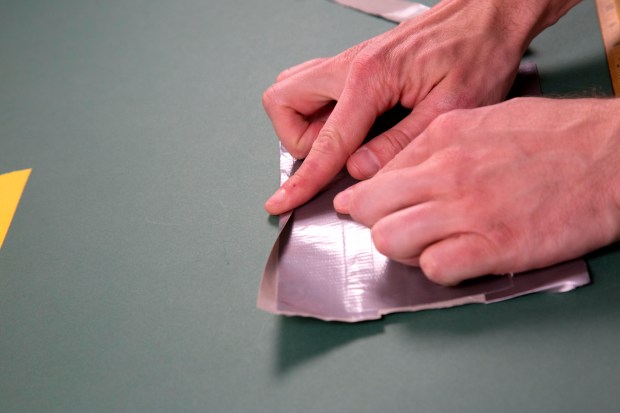
Step 5: Using the scissors or utility knife, trim the sides of the sheet, making it 8 1/2″ wide.
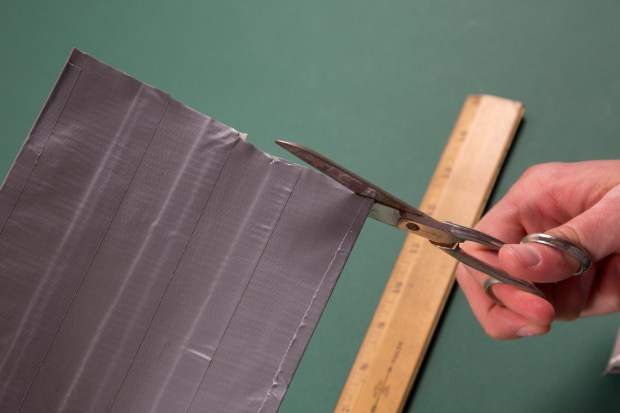
Step 6: Fold the sheet in half.
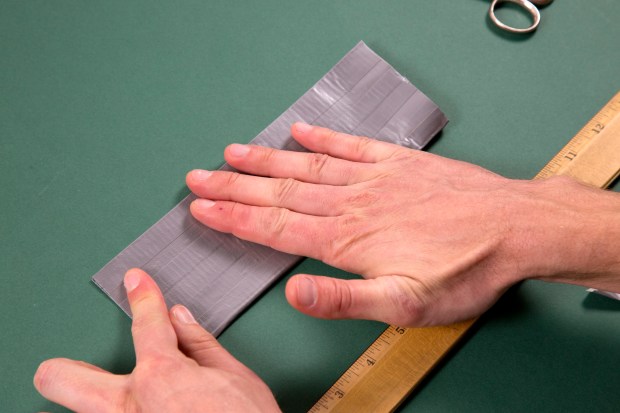
Step 7: Tear two 1″ x 4″ duct-tape strips and attach one to each end. Fold them over the sides of the wallet, and trim the excess.
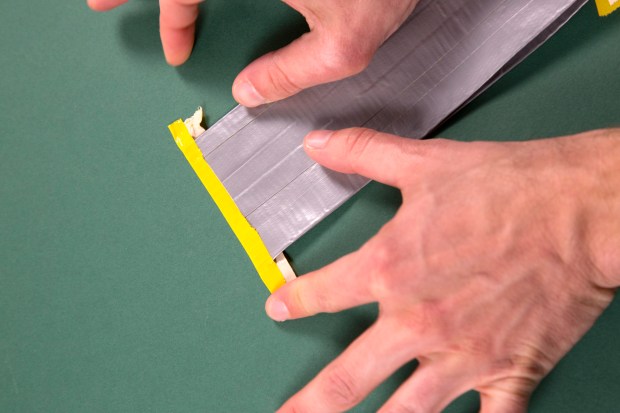
Step 8: To make a smaller pocket for cards, cut two strips of tape each 5″ long and stick the two pieces (adhesive sides) together.
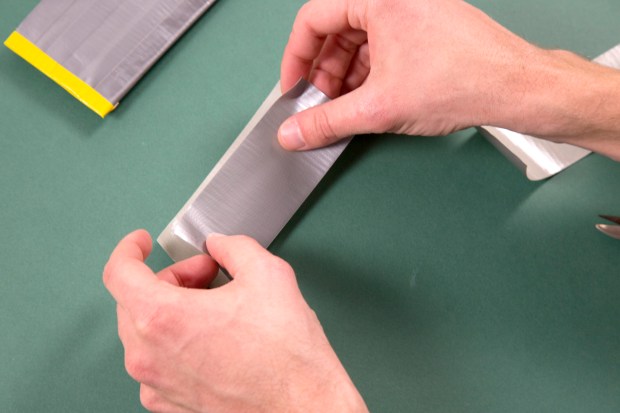
Step 9: Fold and adhere a 1″ strip onto the 5″ edge. Trim the pocket to 4″ long.
Step 10: Using 1⁄2″ strips of duct tape, stick the pocket in place as shown above. Trim the strips flush.
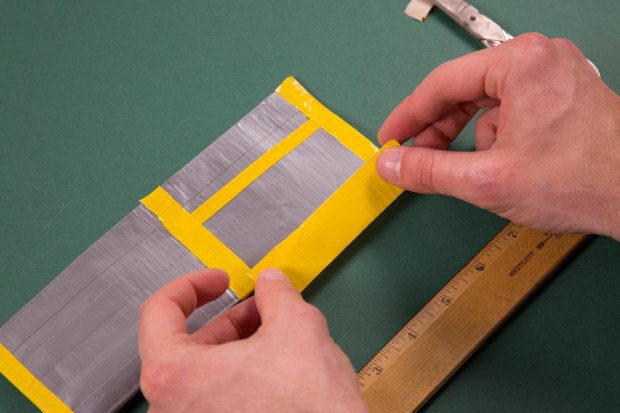
Your duct-tape wallet is complete!
PHOTOS OF COMPLETED PROJECT
Check out these photos of the completed project sent to us by Scout Life readers. If you have a photos of a SL Workshop project, please use the form below to send them to us.


Easily understood and done,
easliy understood and done
very easy to understand and very easy to make. great job
This was soooooo hard! I immediately quit after the first step.
i liked it
If allowed, I’d make a business at my school of making these! But well you know, it’s sorta illegal.
Thanks 4 the tip 🙂
Way to complicated and time consuming. Also instructions are hard to understand and I hate when you have to measure out things
the first step should say lay the 4 strips side by side with each over lapping 1/4 in. Then place strips on top of each of the first 4 strips covering the sticky side up one strip at a time. It is very hard to make 2 4 strip sheets and line them up and get the adhesive to stick without bubbles and wrinkles. the follow the rest of the directions.
tried but horrible results.
Try this follow step 1 but make this step 2: cut a 9 in piece of duct tape place on top of the sticky side of the large 4 strips you just finished.(cut 1 strip then cover using only 1 strip at a time.)
Cover each sticky piece of tape and over lap placing the sticky sides of tape against each other. Repeat until no sticky side is seen.
The follow step 3 (Cut the strip in half for a neater line. (may need adult to help with this)