How to Use Yarn to Make a Pompom Snowman

Brighten your home this winter with this cool and crafty snowman decoration. It’s a perfect gift!
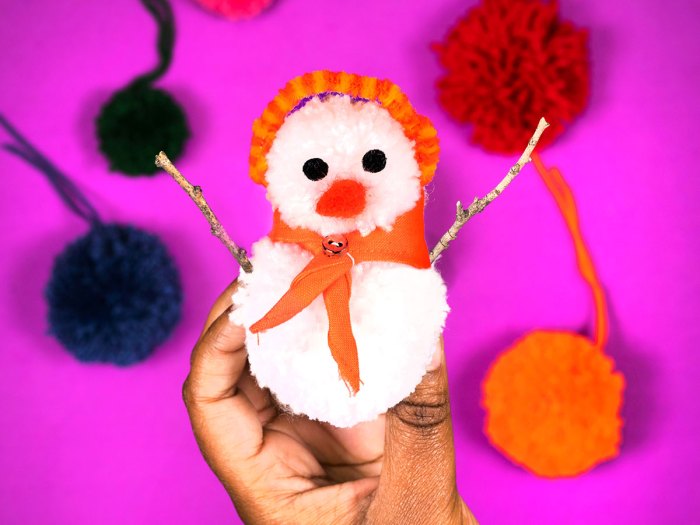
WHAT YOU’LL NEED TO MAKE A POMPOM SNOWMAN
- 1 skein of yarn — makes about 10 to 15 pompoms, depending on the size
- Craft, fabric or hot glue
- Scissors
- Googly eyes (optional)
- Pipe cleaners
- Ribbon
- Small buttons or beads
- Twigs
- Felt or fabric
WHAT YOU’LL DO TO MAKE A POMPOM SNOWMAN
Step 1: Grab the end of the yarn and place it across your fingers in one hand.
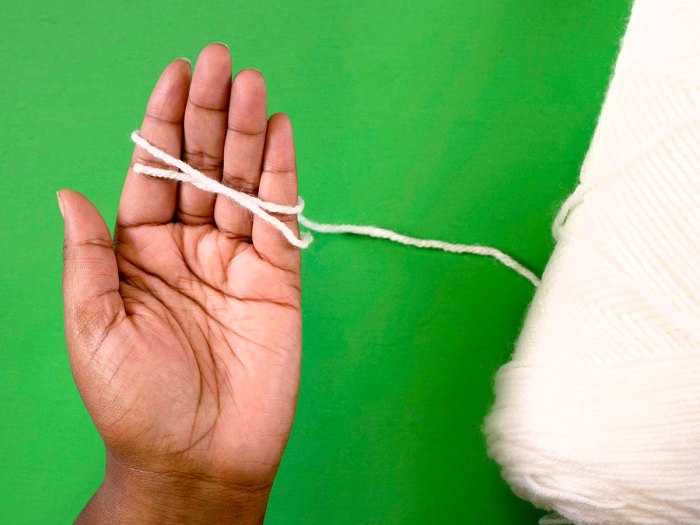
Step 2: Using your free hand, wrap the yarn around your fingers until most of your fingertips are covered, and then cut the yarn. Don’t wrap too tightly!
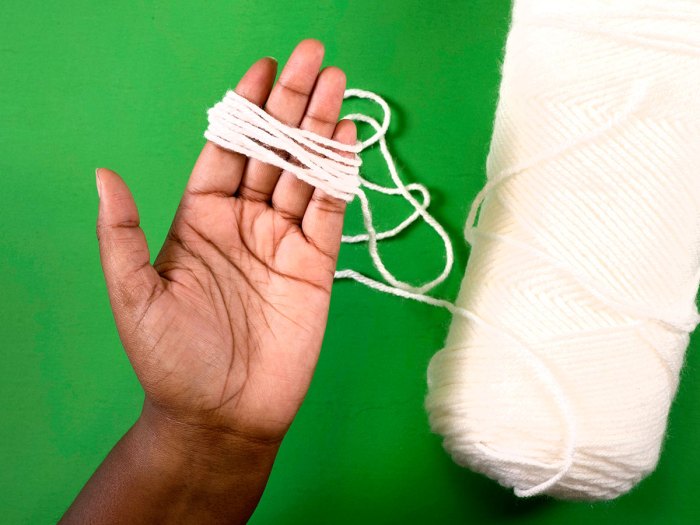
Step 3: Gently slide the yarn off your fingers. Keeping it in its form, place the yarn on the table. Next, take the remaining yarn and cut off a 1-foot piece, and tie that piece tightly around the ball.
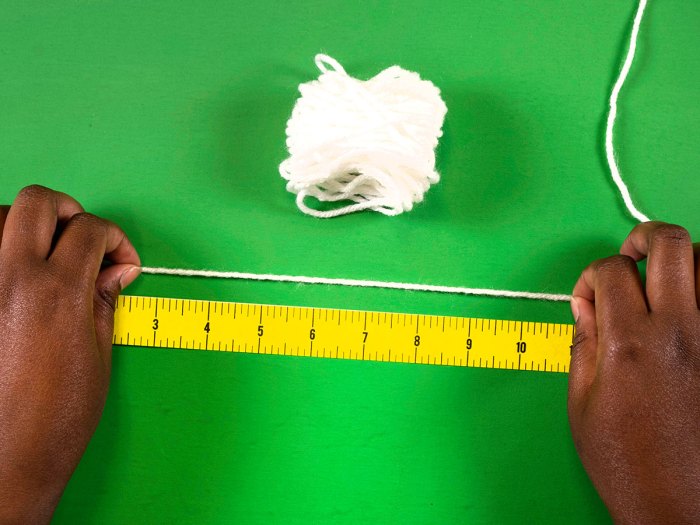
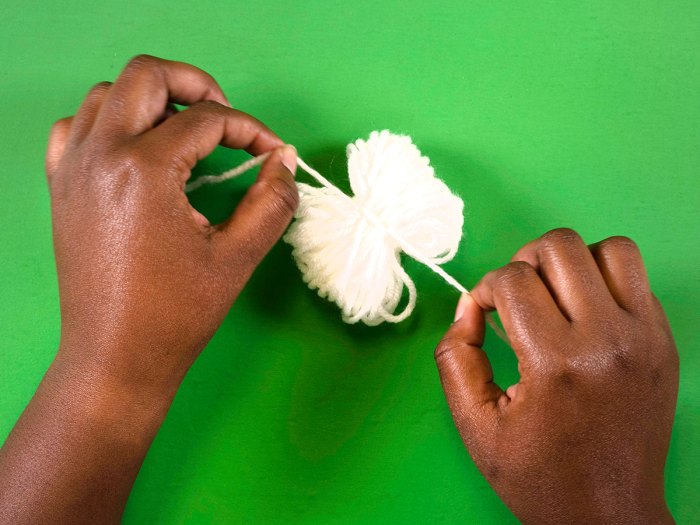
Step 4: Using the scissors, cut open both sides of the pompom one at a time, and then fluff them out.
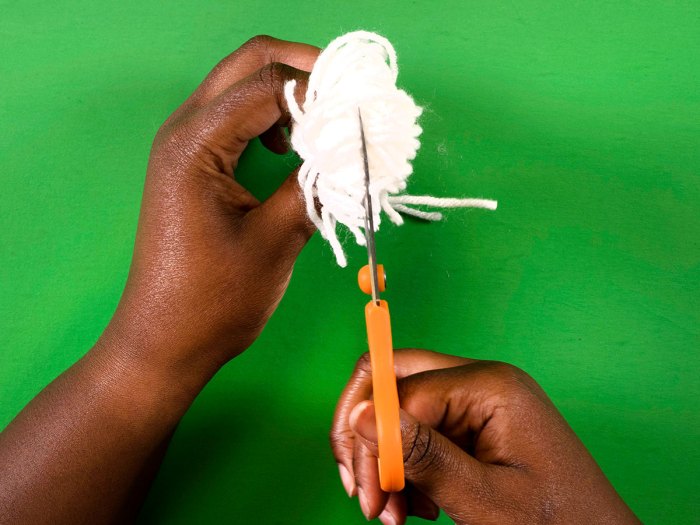
Step 5: Trim the pompom into an even sphere shape.
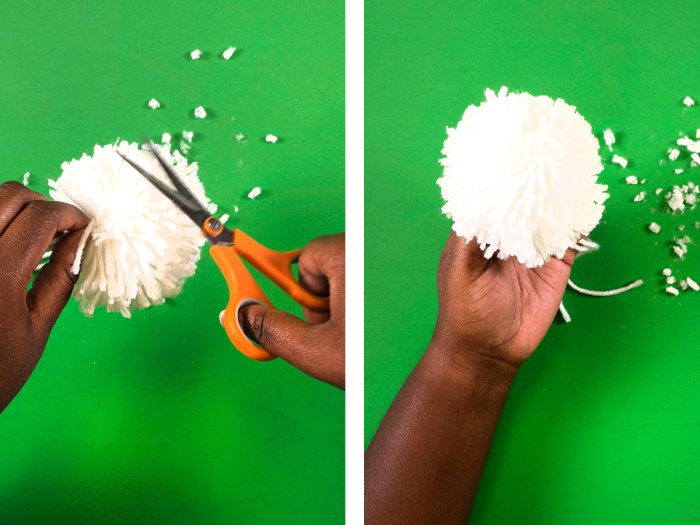
Repeat steps 1 through 5 to make another pompom — this one should be smaller. Repeat this step twice if you want to make a three-tiered snowman. Keep in mind that each pompom should be a different size.
Step 6: Take the two loose ends of each pompom and tie them together. Make sure the knot is tight. You can also glue the pompoms together with hot glue.
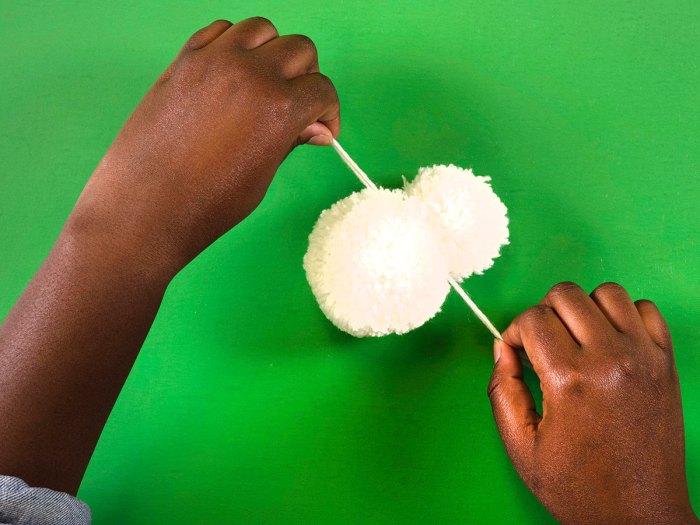
Step 7: Dress up your snowman by using the pipe cleaners, buttons, beads and ribbon to give it a face, arms and some winter gear!

PHOTOS OF COMPLETED PROJECT
Check out these photos of the completed project sent to us by Scout Life readers. If you have a photos of a SL Workshop project, please use the form below to send them to us.

Leave a Comment