How to Carve the Perfect Pumpkin
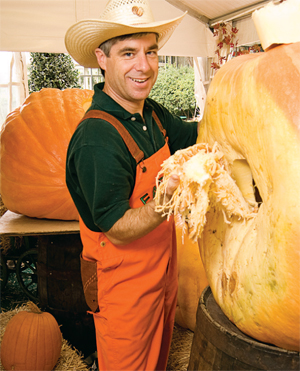
Most of the year, Mike Valladao designs software in San Jose, Calif. But for six weeks each fall, he dons bright-orange overalls and transforms himself into “Farmer Mike, World-Class Pumpkin Carver.”
Building on his first instruction in carving years ago with his trusty blue Cub Scout pocketknife, Farmer Mike has developed a style that has him in demand for carving demos across the nation.
“Carving great pumpkins is a craft, not an art,” Farmer Mike says. “A craft means you know how to use the tools.”
And it means you, too, can learn it. Here’s how, straight from Farmer Mike.
PICKING A PUMPKIN
• If you want your Jack-O-Lantern to have character, start with a pumpkin that already has character. An elongated pumpkin is perfect for a laughing face; a short, fat pumpkin could lend itself to a wide toothy grin. Bumps on the surface might turn into a nose or warty chin.
• Choose a pumpkin in good condition. The entire surface should be firm.
PREPARING YOUR PUMPKIN
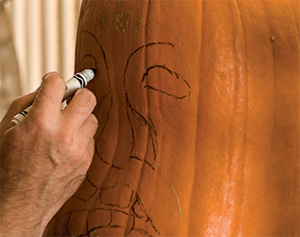 • Draw a pattern directly on the pumpkin. Let the shape be your guide. A long pumpkin deserves a long face. Some pumpkins work better upside down. “Move it around and create the best effect,” Farmer Mike says.
• Use two felt-tipped pens, one a water-based temporary marker, the other permanent. The water-based pen is erasable and will allow you to modify your design.
• With the water-based pen, draw a line down the center of the face. This will help you to stay balanced. Mark the position of the nose a little below the middle of your line. Then mark a line for the height of the eyes. Determine the width of the eyes and make your marks. (The great artist Leonardo da Vinci believed the centers of the eyes and the center of the nose should form a perfect triangle.)
 • Draw out the eyes and nose. Overdo the features — a large flat nose will show better than a small one. Draw the mouth and eyebrows. Complete the rest of the features, including wrinkles. Play with it until you are satisfied. When finished, redraw over your creation with the permanent marker. Wipe off your temporary marks with a damp cloth.
• Clean out your pumpkin — the messy part! If you plan to light the pumpkin with a candle, cut a hole in the top (to allow heat and smoke to escape) and take out the insides with a spoon. If you do not plan to light the pumpkin, you can cut a hole in the back where it will not be seen.
CARVING YOUR MASTERPIECE
• Use as much depth as possible without needlessly cutting through the pumpkin. To do this you need to know the thickness of the pumpkin. Cut a core sample from an area that will not be seen—the center of one eye, if you plan to leave it open, or the inside of the mouth). Note that the thickness can vary from one part of the pumpkin to another. Inspect the inside to see if there are thin spots.
• Carve using a “chip” method. The base of the nose is a logical place to start because the nose requires depth around it so it can look as though it is protruding from the face. Without cutting all the way through the rind, use in-and-out movements to create a cut around the outline of the nose. Then, angle in with a second cut (about three-quarters of an inch to the outside of the first cut) to notch out a wedge around the bottom of the nose. If done correctly, the wedge will fall out without leaving a hole in the pumpkin.
• Once the outline of the nose is exposed, cut off the orange rind and begin giving the nose its shape. Gently taper the bridge of the nose back into the head. Nostrils can be cut clear through the shell. Create freckles by leaving small circles of orange rind while removing the surrounding areas.
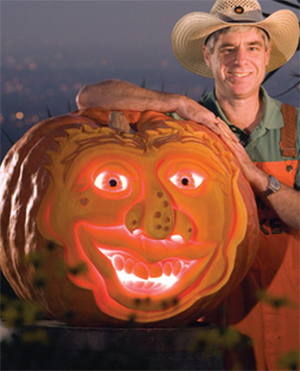 • Cut the holes for the inside of the eyes and mouth. Leave the teeth intact. Later you can give shape to the teeth by cutting off the rind to recess them back from the lips and into the mouth. Continue with the cheeks, round the lips and finish the rest of the face.
• Set the eyes back into the pumpkin a little to make the face look more lifelike.
• Attempt to blend the features together and make any required changes. Give the pumpkin worry lines and wrinkles. Cut eyeballs from the back of the pumpkin to place in the eye sockets with toothpicks, or use “googlie eyes” from a craft store.
DISPLAYING YOUR CARVED PUMPKIN
• Display your carved pumpkin in a cool, dry location to make it last as long as possible—four to seven days is a long time.
• A candle or light bulb inside the pumpkin may add a great effect, but it will reduce the carving to mush in a matter of hours instead of days.
• Take plenty of photos.
MORE CARVING TIPS
Get even more tips from Scouter John Points from Tulsa, Oklahoma.
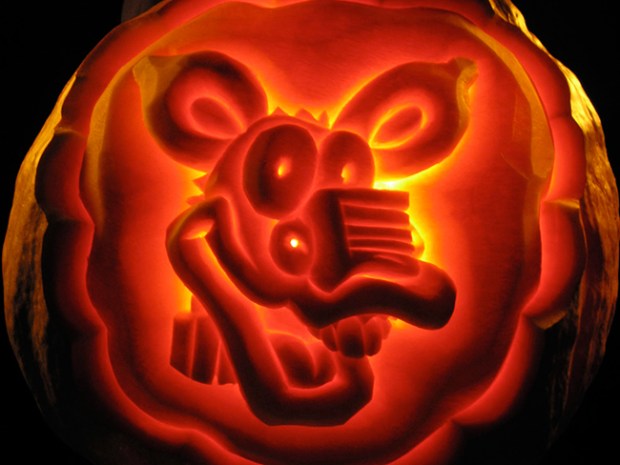
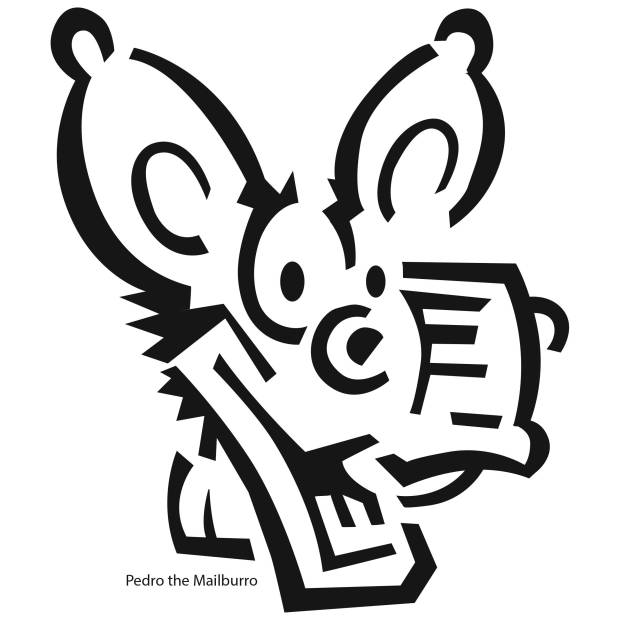
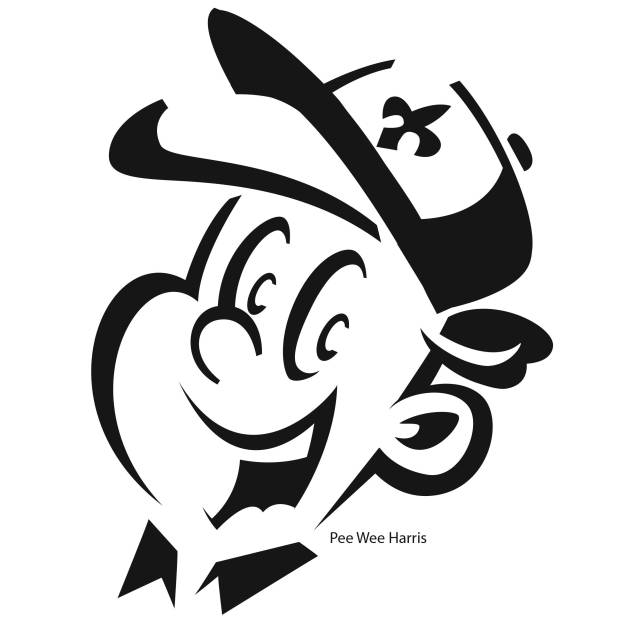
CARVE A PEDRO OR PEE WEE PUMPKIN!
Want to have the coolest pumpkin on the block? Here are templates for carving a jack-o’-lantern featuring Pedro the Mailburro and Pee Wee Harris. Just print them out, tape them to your pumpkin and cut out the black parts. And don’t forget to send us photos!
im a second class scout and i would like that to be a merit badge!!!!!!!!!!!!
can you make a skull?
thats so wicked,i know i cant do that!!!
The 3-D looks better than those designs you get in carving kits.
thats great he makes it look easy
Halloween is tomorrow. So it is time to carve your pumpkins!
Remember knife safety. Always maintain control and only cut what you want.
I look forward to seeing Scout-carved pumpkins. Sure you guys will do a great job.
Happy Carvings…
its awsome
You are awesome.You also do a great job on carving pumpkins.Show more pictures of pumpkins that you have carved.I also have fun at Halloween and growing pumpkins.
Some of them look weird and creepy. 8) (Insert Halloween music here.)
At the fair i went to today i saw professional pumpkin and wood carvers one of them said he had been doing it for 8 years and he said that wood and pumpkin are both hard in their “own ways”!!!!