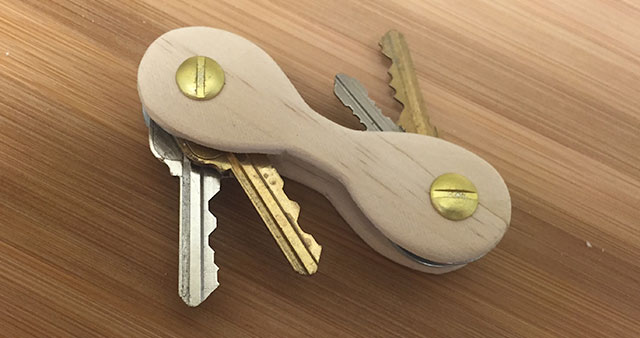
How to Make a Wooden Key Folder
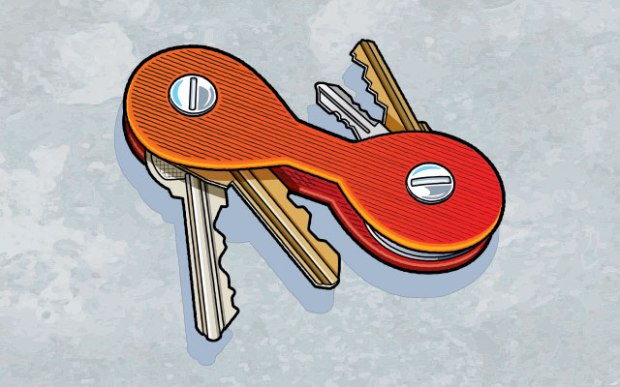
Keep your keys organized with this handy wooden folder.
WHAT YOU’LL NEED
- Four keys
- 1” wide wooden paint stir stick
- Ruler
- Four fender washers, 1” in diameter, with a 1⁄4” hole
- Two 3⁄16” x 1⁄2” long binding posts
- Two small flat washers with a 1⁄4” hole
- Masking tape
- Small block of scrap wood
- Pencil
- Drill
- 1⁄4” drill bit
- Hacksaw
- Wood or rubber mallet
- 1⁄2” sharp wood chisel
- Sandpaper
- Wood finish of your choice
- Silicone (optional)
WHAT YOU’LL DO
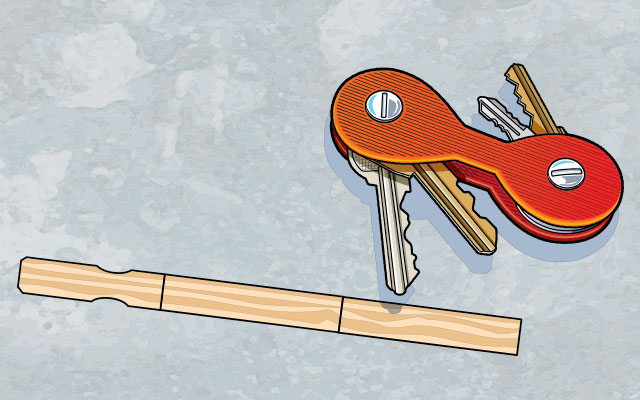
1. Saw the paint stick into two 5” pieces.
2. Take the two longest keys and tape each to a fender washer. Place the taped keys on the first 5” paint stick, and stagger them as shown. Carefully press down on the keys and washers, and trace the outer edge of both washers with a pencil.
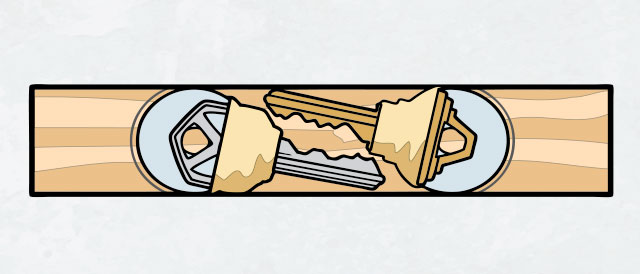
When tracing the outside of the washers, be careful that the keys and washers stay in position.
3. Remove the tape and reposition both fender washers back in place on the paint stick. Trace all the way around the washers and inside the washer holes. Tape the two paint sticks together, and then tape them onto a scrap piece of wood. Drill the two 1⁄4” holes through the traced washer holes in both paint sticks.
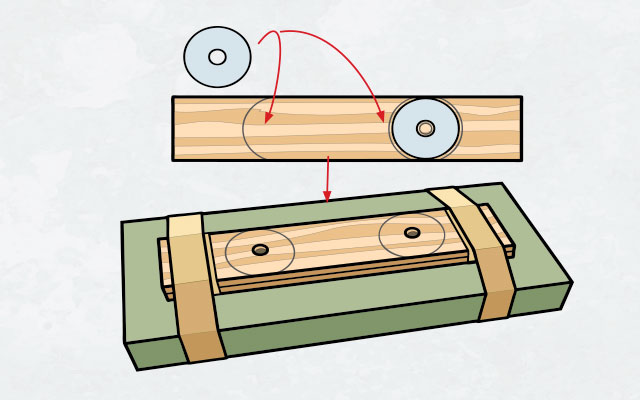
Taping the paint sticks to the block of wood keeps them from splintering.
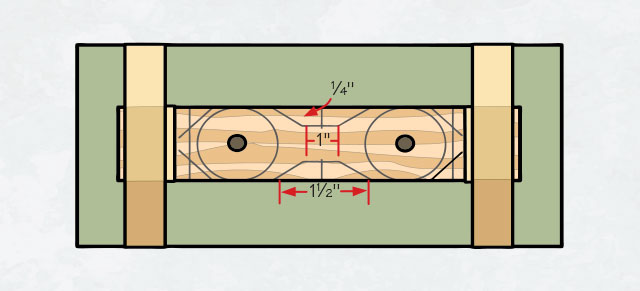
4. Find the halfway point between the outer edges of the traced washers, and draw a straight perpendicular line. As shown, center trapezoids that measure 1⁄4” x 1” x 1-1⁄2” each. Draw two more perpendicular lines close to the outer edges of the washer pencil marks. Draw angled lines as shown.
The tape should be placed near the outer edges of the paint sticks so you have room to draw all the pencil marks.
5. Use the mallet and chisel and work your way around the trapezoid, tapping very lightly until the four trapezoids are cut free.
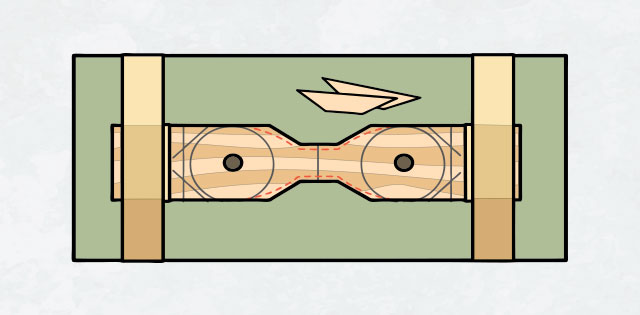
Be patient as you work your way around the trapezoids. Make sure each tap of the chisel is very light. If you tap too hard, you can split the wood. If the wood splits, don’t panic. It can always be glued back together.
6. Remove the sticks from the block of wood and sand the inside of the plates smooth. Tape the plates in the center and remove the outer tape. Retape the side plates to the block of wood, and cut off the ends. Remove the side plates from the block of wood and finish sanding the plates smooth. Remove the tape and apply the wood finish.
Sand the inside of the side plates. During the final sanding, smooth any rough or sharp edges on both sides of each plate.
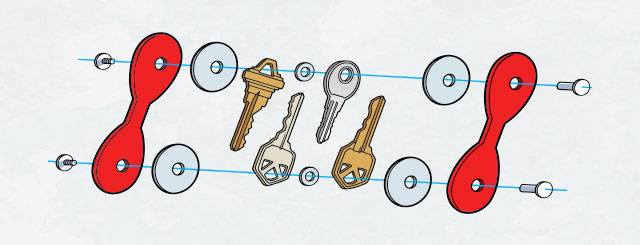
7. Follow this diagram for easy assembly. Tighten the binding posts so the keys can be easily swung out but don’t flop around. You can apply a tiny bit of silicone to the binder threads so the key folder doesn’t loosen up after some use.
Leave a Comment