How to Make a Hoop Greenhouse
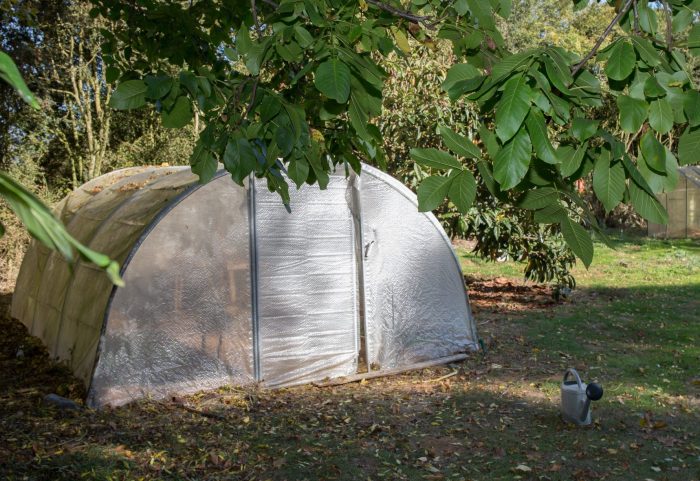
It’s getting cold, so hoop it up! With a hoop greenhouse, you can grow food all winter and get a jump on spring planting.
What You Need:
- Shovel
- Rake
- Garden pruners
- Measuring tape
- Scissors
- Pencil
- Hammer
- Wood saw
- Electric drill
- Outdoor twine
- Three 8-foot two-by-fours
- Four 1-by-2-by-12-inch landscape stakes
- 10 1 1⁄2″ galvanized tube straps
- Eight 3″ exterior wood screws
- Eight 4″ exterior wood screws
- 20 1″ wood screws
- 10-by-25-foot piece of 3-6 mil plastic sheeting (Plastic sheeting comes in thicknesses rated by mil — that’s one-thousandth of an inch, or the width of a human hair.)
- 14 plastic clamps opening at least 1″ (Or make homemade garden hose clamps. Instructions on following page.)
- 8 feet of 1-by-2-inch furring strip or lath. (Other straight and thin outdoor materials can work, too.)
- 50′ roll of black 3⁄4″ poly pipe (1⁄2” PVC pipe also works.)
SAFETY FIRST: Ask an adult to help with tools you haven’t used before.
How to Build It:
1. Pick a flat and sunny location for your hoop greenhouse. Measure a 4-by-8-foot rectangular area. Prepare the ground for planting by digging up the soil and raking it.
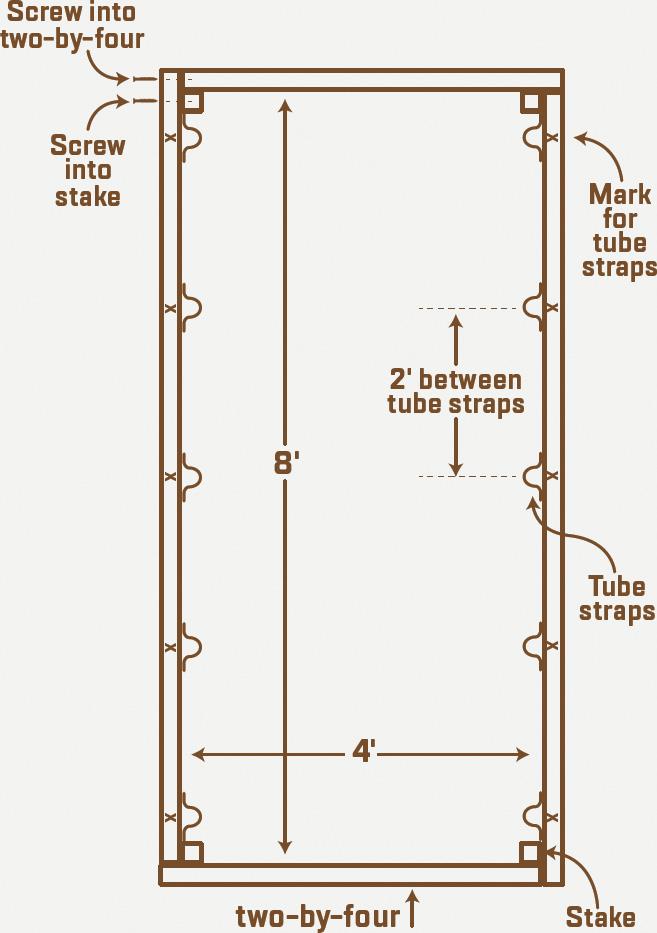
2. Place a two-by-four vertically on each of the two long sides of the garden bed. Saw the remaining two-by-four in half, and lay down those two pieces on the short sides of the bed. Overlap the corners connecting the rectangle. Make corners square and sides parallel.
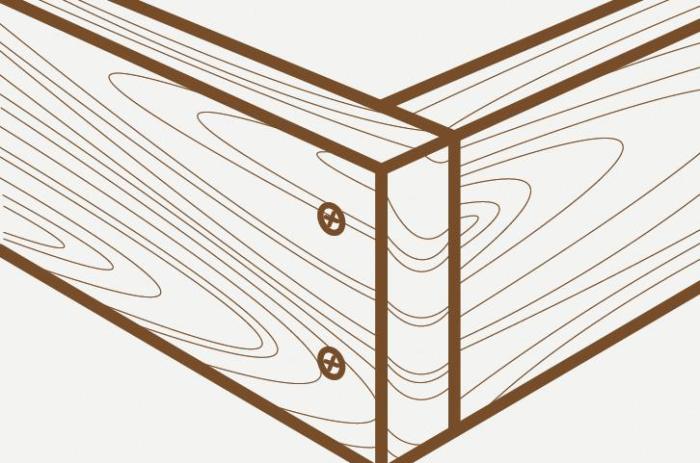
Next, attach each corner using two 4″ screws.
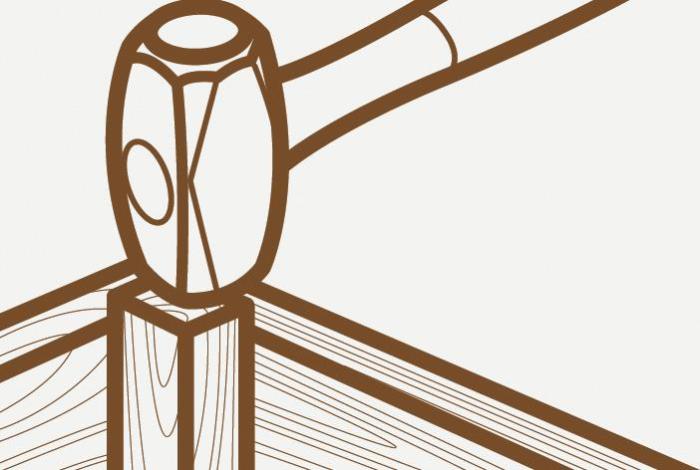
3. Drive stakes inside each corner and saw tops off flush. Then screw two 3″ screws through the box into each stake.
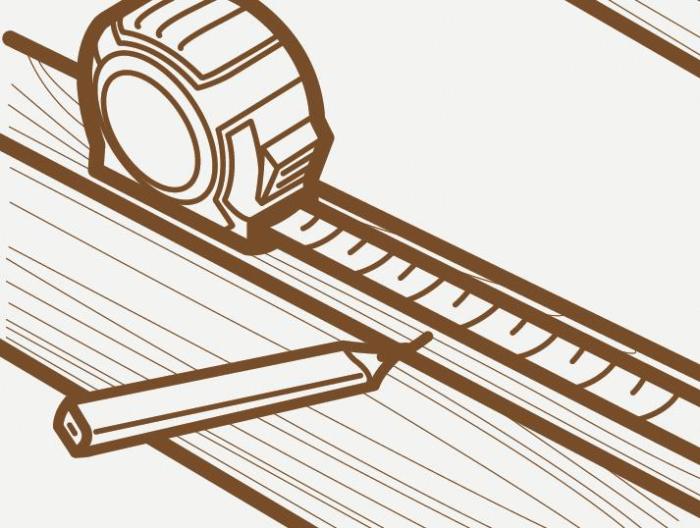
4. Add hoops: Measure and mark where the tube straps will go. Start in a corner marking about 2′ apart. Marks on the two sides have to be directly opposite one another.
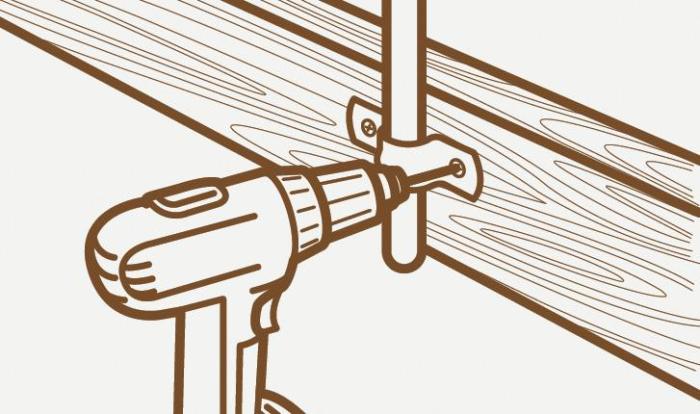
5. Using 1″ screws, attach the tube straps on the inside of the wood 1″ down from the top.

6. Cut poly pipe into five 8′ sections using garden loppers. Push poly pipe through tube straps into the soil, making hoops. Even up their heights.
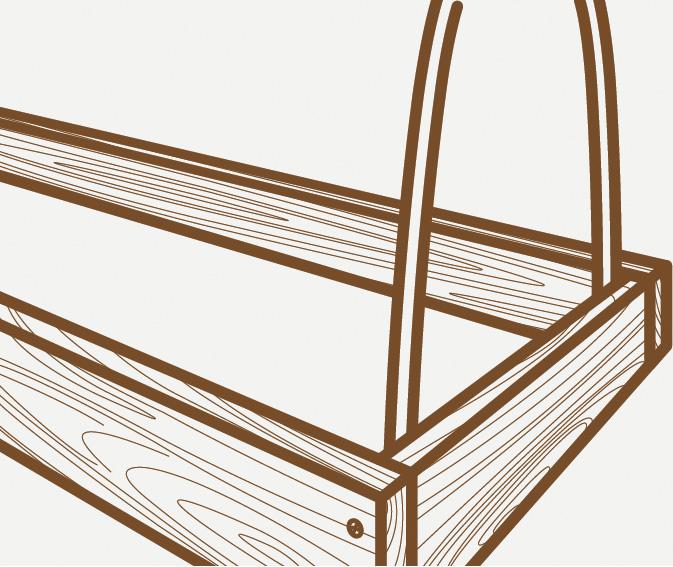
7. Lash furring strip or lath onto the bottom of the hoops with twine.

8. Attach the cover: Lay out the plastic, and then pull it evenly up over the hoops. Pull snug while clamping onto board or hoops using commercial clamps. You can also use homemade garden hose clamps on the hoops. To make them, cut a piece of old garden hose into 20 2″ pieces, split them lengthwise and slip the pieces onto the plastic and hoops.

9. Cut off excess plastic and fold the ends. Clamp the ends closed or secure the plastic on the ground with rocks.

Tips:
• Avoid pressure-treated lumber, which is toxic.
• Face long sides southward for more sun.
• Attach the cover when there’s no wind.
• Pull the cover back on hot days so your plants won’t fry!
• Choose cold-hardy crops to winter-over. When it freezes, cover them with an inside blanket or frost cloth.
Keep in mind:
• Regular 3-4 mil plastic sheeting lasts 1-2 years. Greenhouse 6 mil UV-safe sheeting lasts 4-6 years but costs more.
• Lower-grade lumber works fine, but check each two-by-four for straightness. Fir lasts 5-7 years outdoors and is cheapest. Cedar lasts 10-15 years but costs more.
Find more fun projects at go.scoutlife.org/howto
Leave a Comment