How to Preserve a Snowflake
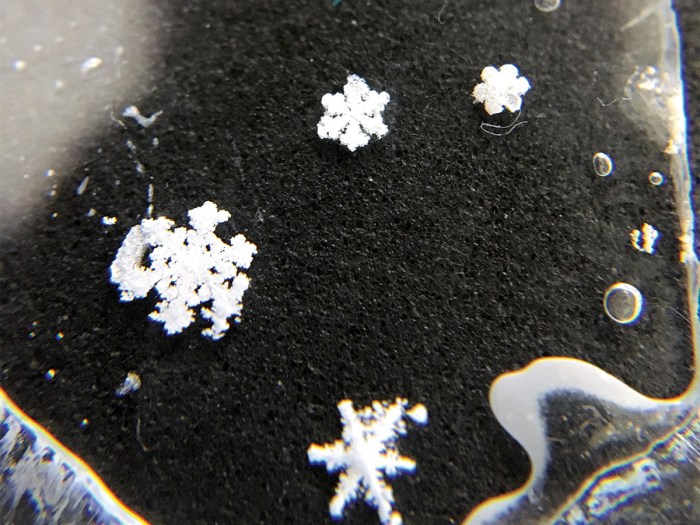
Snowflakes usually melt before you can get a good look at them. Here’s how to preserve individual flakes so you can study them later.
WHAT YOU’LL NEED TO PRESERVE A SNOWFLAKE
- Access to a freezer
- Freezable pouch (A large pencil case works well.)
- Black poster board or foam sheeting sized to fit inside pouch
- 5 to 10 glass microscope slides
- 5 to 10 glass or plastic slide covers
- Gloves
- Liquid (not gel) superglue or similar product
- One finely bristled paintbrush (more if needed)
- A wide rectangular or square plastic or glass container with a tight-fitting lid
- Snowfall
WHAT YOU’LL DO
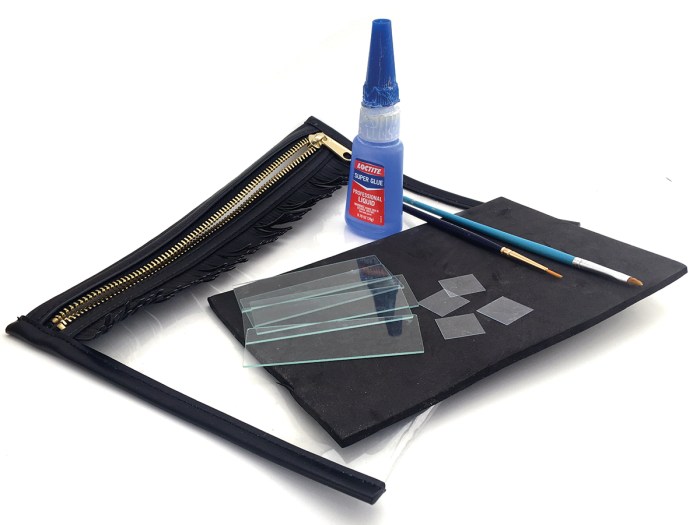
STEP 1: So it will be ready for the next snowfall, place your snowflake-capturing equipment — paintbrush, poster board or foam sheet, microscope slides, superglue and slide covers — inside the freezable pouch and store it inside the freezer. The separate plastic or glass container doesn’t have to be in the pouch, but it should be in the freezer.

STEP 2: When it starts to snow, remove your equipment from the freezer and take it outside. Place the black poster board or foam sheet on the ground and watch as individual snowflakes land on the surface.
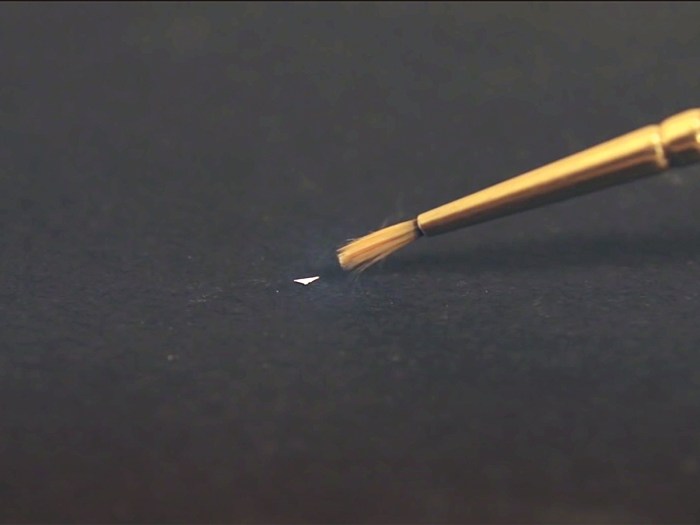
STEP 3: When you see a snowflake you want to collect, remove the slide from the pouch and place it next to the poster board. Then, use the paintbrush to pick up the snowflake and quickly place it in the center of the slide.
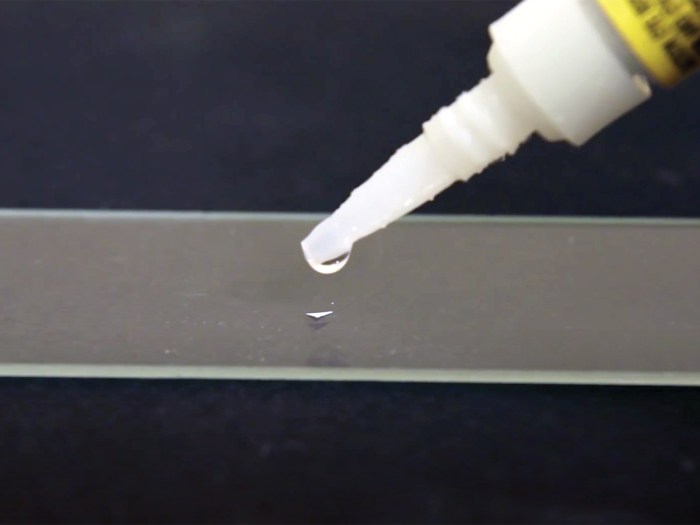
STEP 4: Next, drip as many drops of liquid glue as needed to completely cover the snowflake. Once the snowflake is covered with the glue, carefully place a slide cover on top. Don’t try to reposition the slide cover once it is on — doing so can damage the snowflake. Pick up the slide with two fingers and take it inside.
STEP 5: While holding the slide, take the plastic or glass container out of the freezer and place the glued slide inside while keeping it completely level. Then seal the container with its lid and immediately put it back inside the freezer. Repeat this process for other snowflakes you capture. Do not stack or bump the glued slides as you add others to the container.
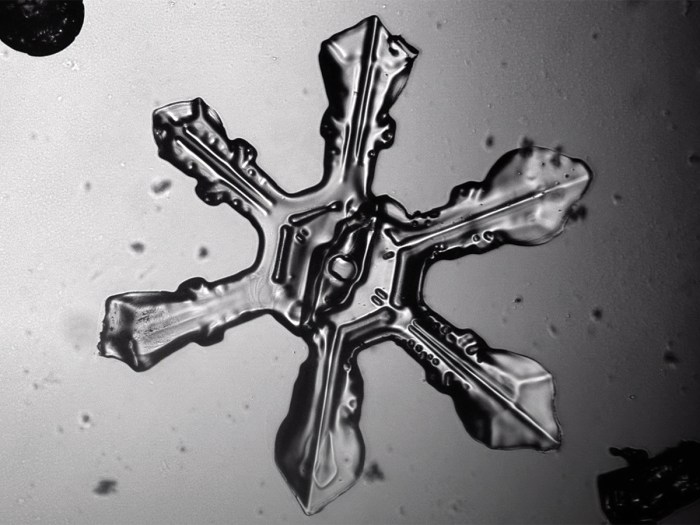
STEP 6: Leave the container in the freezer for four to six weeks — untouched! During this time, the glue on your slides will slowly harden, taking the place of the moisture that originally made up the snowflake. Once this preserving process is complete, you can remove the slides from the freezer and admire the shape of your snowflake at room temperature.
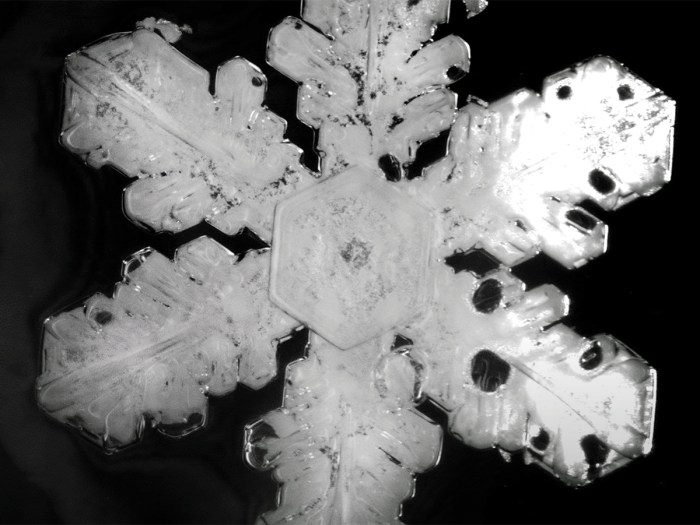
OPTIONAL
Use a magnifying glass, microscope or macro lens to get a closer look. For a special touch, label individual slides with the exact location, date and time you collected a particular snowflake.
TIPS
Handle the slide with the snowflake as little as possible so the heat from your hands doesn’t melt the snowflake. Do not get glue on your fingers or in your mouth or eyes.
Very cold, dry air results in smaller, simpler-looking snowflakes. Larger, more complex shapes form when the air is very moist.
Cool!
i love it!!!!!
zander