Get Your Bicycle Ready and Grab This Gear to Go Bikepacking
Bikepacking is a camping trip you take on your bike. It’s a fun way to see the sights from a saddle, cruising roads and trails. Here’s what you need to get started.
PREPARATION FOR BIKEPACKING
CHOOSE A DESTINATION: Adventure can happen anywhere, even when you set out from your back door.
 Ultra-endurance racer and avid bikepacker Lael Wilcox says to go where you want to be, where you can see what you want to see. Get ideas for routes by checking out topographic maps (which will likely include backroads) or asking local bicycling shops and clubs. You can find an extensive archive of bikepacking information, with detailed route notes, including where to restock and sleep, at bikepacking.com
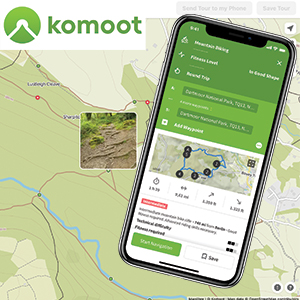
If you have a bike computer or GPS watch, download your route before you go. You can also use your phone to navigate. Many apps, like Komoot, let you download routes, including some free downloads. It’s a good idea to carry a hard copy map as well. Study the mileage, terrain, traffic conditions, weather and potential rest stops. Let others know about your trip.
Before any trip, make sure you have qualified adult supervision, use the buddy system, make sure your equipment is in good condition and obey all traffic laws. Prepare like you would for any strenuous adventure, including being physically ready.
THE GEAR YOU’LL NEED FOR BIKEPACKING
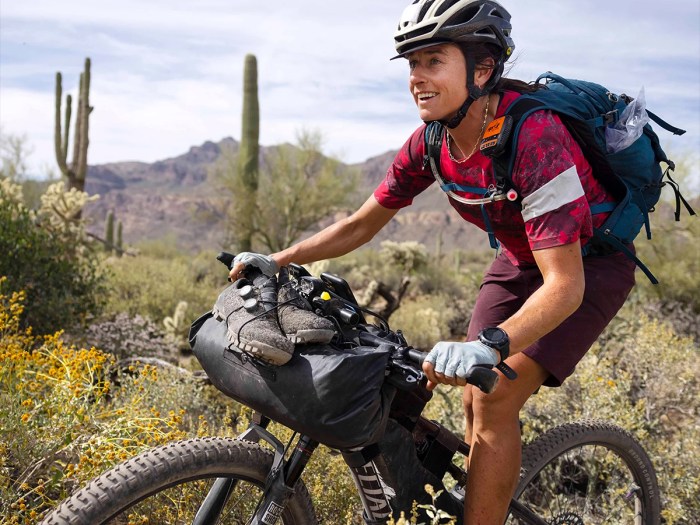
Bicycle
Bikes are designed for different purposes, but most any mountain or road bike with terrain-appropriate tires will do. Hardtail mountain bikes and gravel bikes are both popular for bikepacking. Wider tires are more forgiving in off-road terrain. Make sure every part of the bike works properly. Also, your bike should include mounts for various gear.
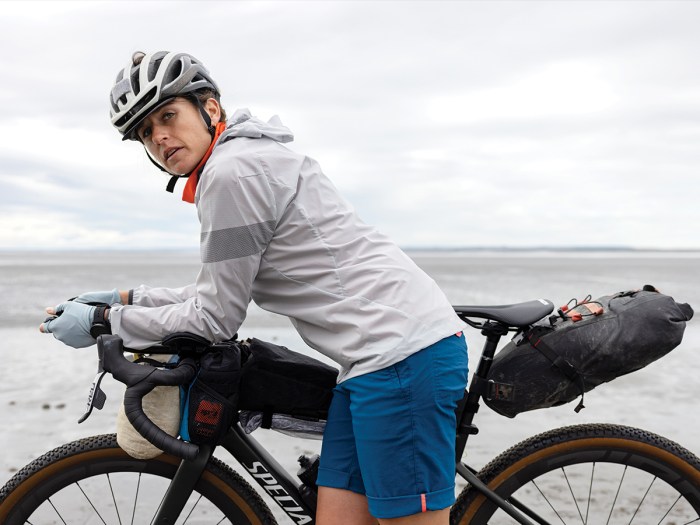
Bags
The lighter the load, the more fun the ride. Carry your gear so it has minimal impact on your body and the bike’s handling. Drybags with straps or bikepacking-specific bags are the lightest and most comfortable options. Most strap to your handlebars, top tube and frame or under your seat. Bikepacking bags, sometimes called “panniers,” from outdoors retailers ($30-$100 at REI) are some of the most affordable.
Waterproof bags keep gear dry, but you can make any bag waterproof enough by using a trash bag inside. Wilcox says simple is better.
“Stuff your sleeping bag and sleeping pad into a drybag and strap it to the handlebars,” she says.
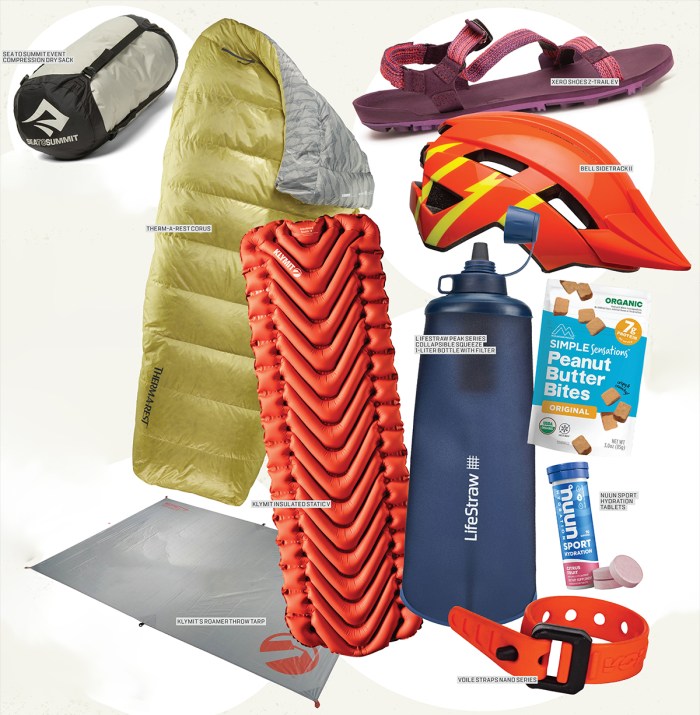
She recommends the Sea to Summit eVent Compression Dry Sack ($35-$55, seatosummit.com) because you can tension the straps to make your sleep kit less bulky. The eVent comes in sizes as large as 30 liters. You can also carry gear in a small backpack, but many riders prefer bags that mount to the bike instead of bags you carry on your body. Riding with a backpack on a bike tour can be hot and feel heavy.
Sleeping
Look for a lightweight sleeping bag and pad. You might also want to bring a tent or tarp for protection from the weather and bugs.
Depending on where you go, temperatures can drop, even in summer. Choose a sleep system that will keep you warm. The Therm-A-Rest Corus ($270, thermarest.com) is a versatile quilt that weighs just over a pound and is designed to keep you warm down to 32 degrees. Pair your sleeping bag with a compact insulated pad, like the Klymit Insulated Static V ($100, scoutshop.org). It’s filled with synthetic insulation to protect you from the cold ground.
A bikepacking-specific tent has poles that collapse shorter than a standard tent so you can carry it on your handlebar without it sticking out too far. If you want a compact tent, get the lightest one you can afford. If a tarp will do, bring that instead.
You can flip your bike upside down and drape the tarp over it, then stake out the corners with cord and tent stakes. Check out Klymit’s Roamer Throw Tarp ($45, klymit.com) — it weighs a little more than 8 ounces and features six grommets. Be sure to avoid mud so your gear shifters aren’t damaged.
Personal Gear
Pack gear that’s light and multifunctional. If you’ll go on hikes, wear bike shoes that can handle multisport adventures, like Ride Concepts’ Vice ($100, rideconcepts.com). If you’ll be near water, think about bringing lightweight sandals, like Xero Shoes Z-Trail EV ($80, xeroshoes.com).
Dress in layers to prepare for a variety of weather and temperatures. If you’re on a budget, get creative. You can cut a head hole in a trash bag and wear it as a rain poncho. Bikepacking sometimes requires improvising. Also, remember to pack a first-aid kit.
Helmet
Don’t leave home without one. Use one with a multidirectional impact protection system (MIPS), which gives you the most protection in a crash. Some good choices are the Bell Sidetrack II ($60, bellhelmets.com) and Giro Fixture MIPS II ($70, giro.com).
Food
Dehydrated meals are a great lightweight choice, whether you buy them or make your own. If your route passes through towns, plan on restocking instead of carrying everything you need from the start of your trip.
Water
Carry water in a hydration pack or water bottle. A compact water filter, like the Lifestraw Peak Series Collapsible Squeeze 1L Bottle With Filter ($44, lifestraw.com), lets you drink straight from the bottle and refill along your route. Bring enough water bottles to keep you hydrated between water stops.
If you’re using a frame bag, you likely won’t have space for bottle cages. Try putting a hydration reservoir inside your frame bag and threading the hose so you can reach it, and then securing it with zip ties. Use a Platypus SoftBottle ($10-$13, platy.com) to carry spare water. The 1-liter bottles pack flat when empty.
Bring some electrolyte drink mixes, such as Nuun Sport ($7.50, nuunlife.com) or Gatorade.
Tool Kit
Zip ties, duct tape, a cable, cleat bolt (for clipless pedals), hex wrenches, a tube, tire levers, a pump and a multitool are bike-touring repair kit basics. Personalize your kit from there. Know how to use your tools and practice with them before your trip.
PACKING YOUR BIKE
Carry your heaviest gear under your seat, whether in a seat bag, frame bag or strapped onto your seat rails using nylon straps, such as those sold by Voile ($6-$19.50, voile.com). Carry the lightest gear on your handlebars. Too much weight on the handlebars can make it hard to steer.
Leave a Comment